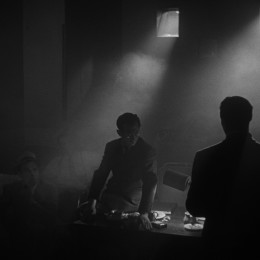
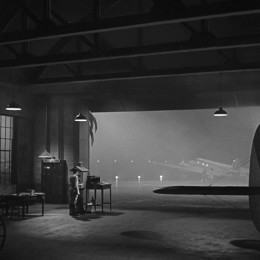
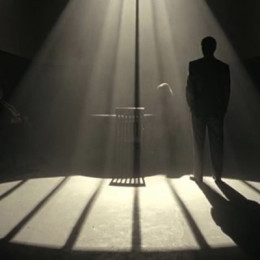
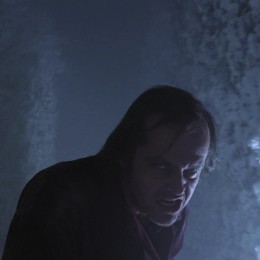
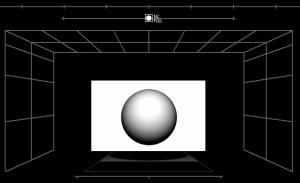
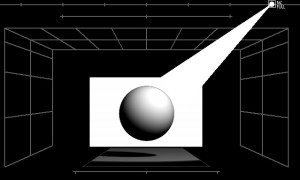
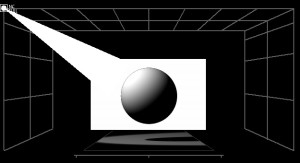
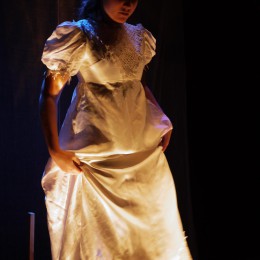
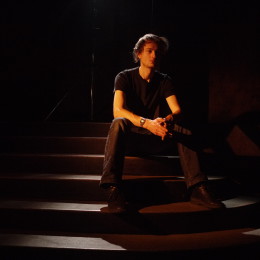
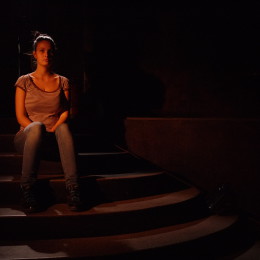
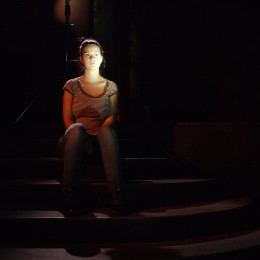
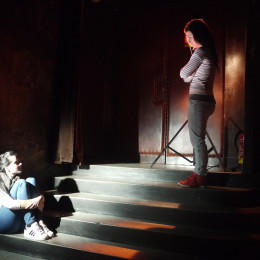
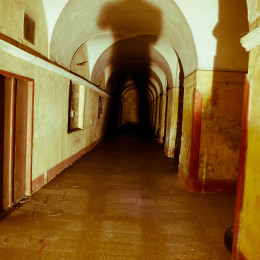
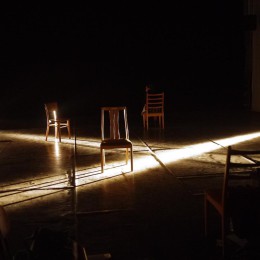
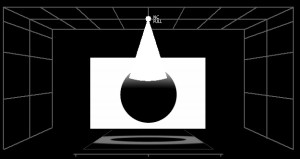
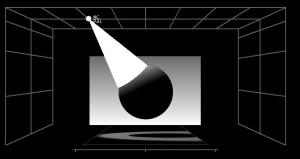
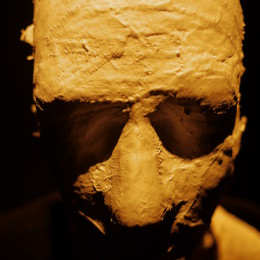
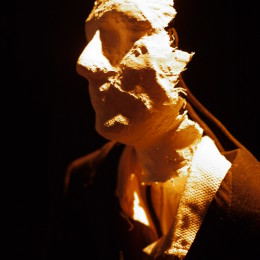
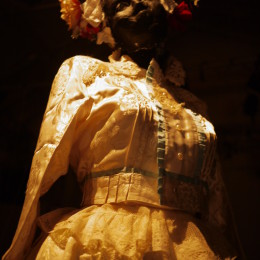
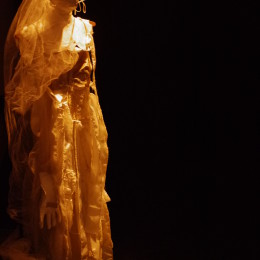
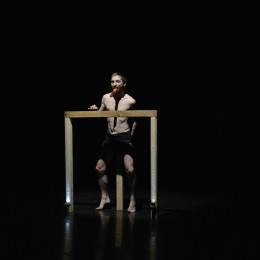
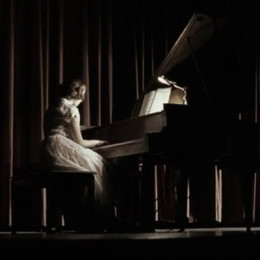
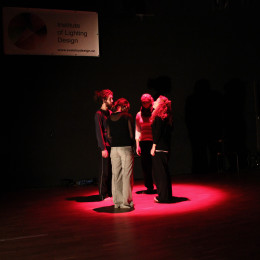
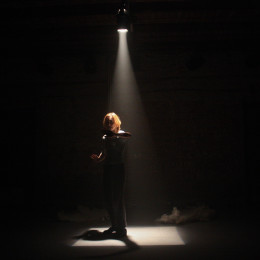
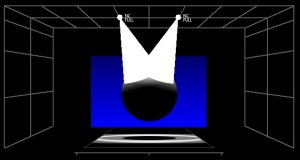
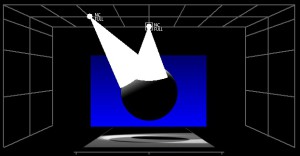
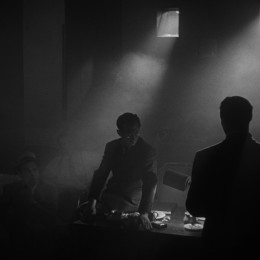
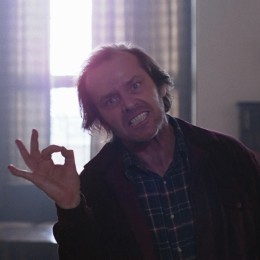
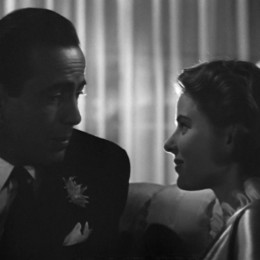
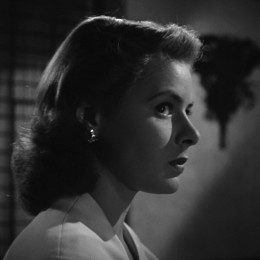
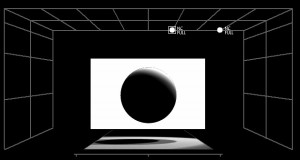
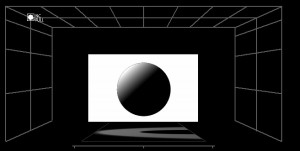
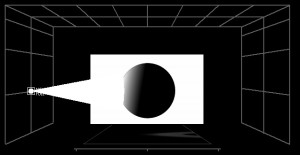
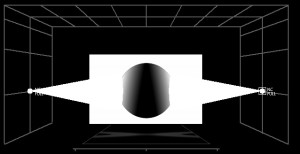
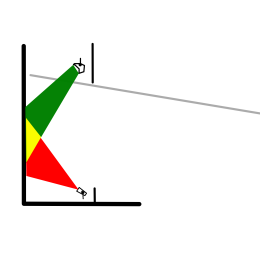
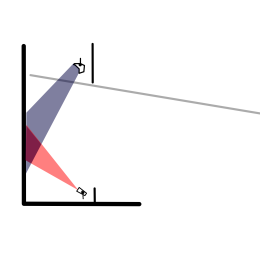
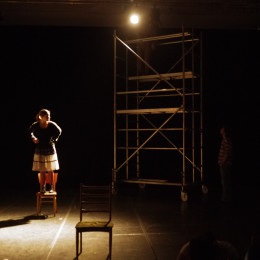
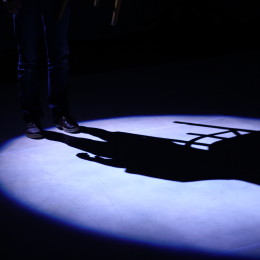
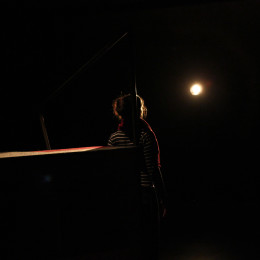
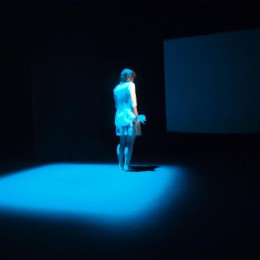
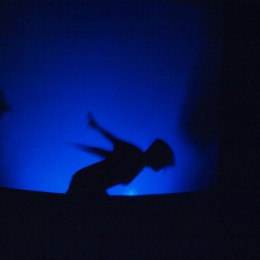
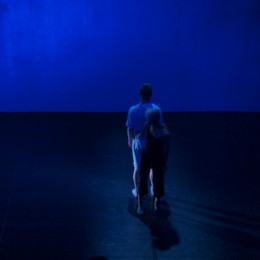
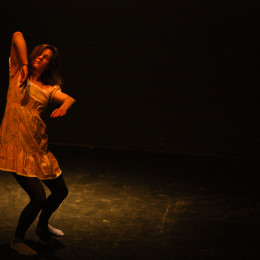
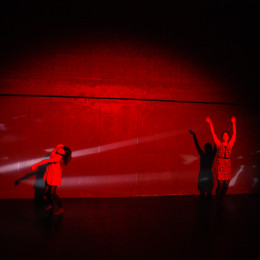
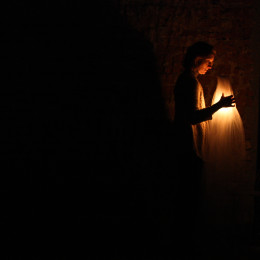
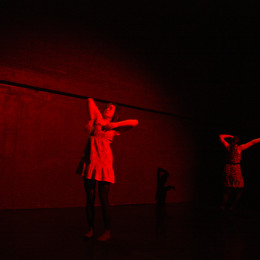
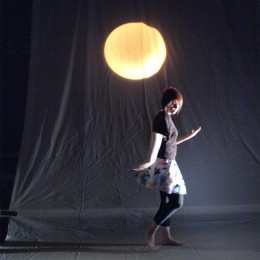
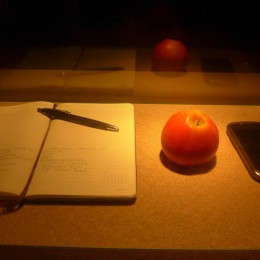
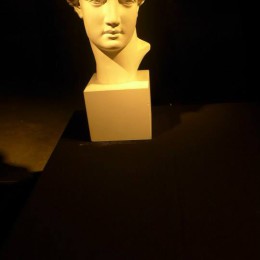
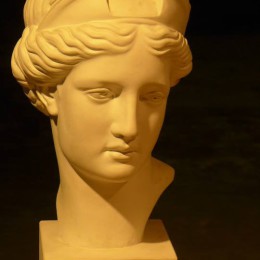
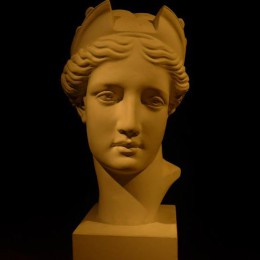
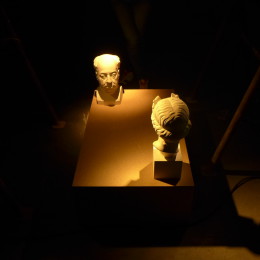
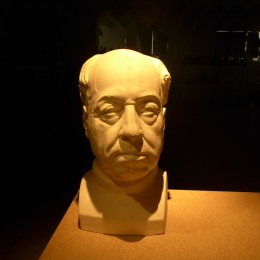
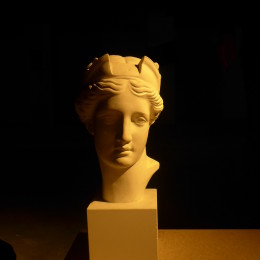
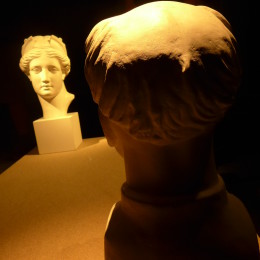
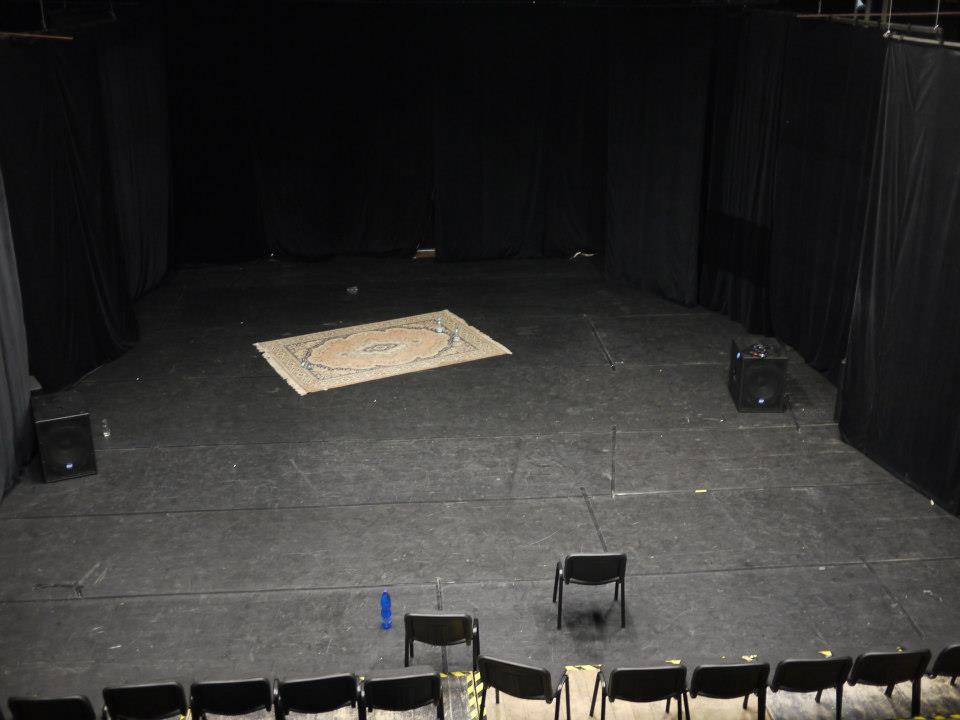
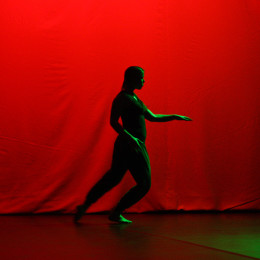
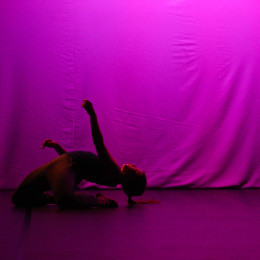
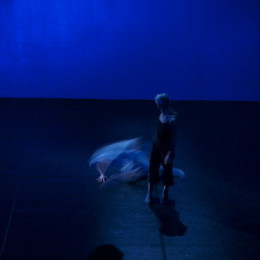
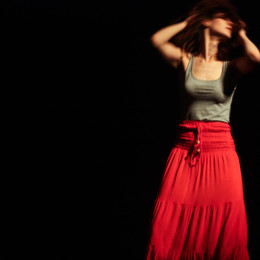
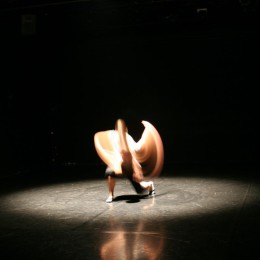
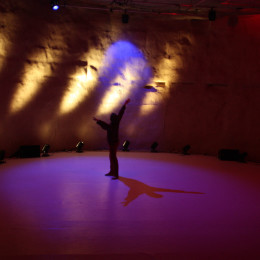
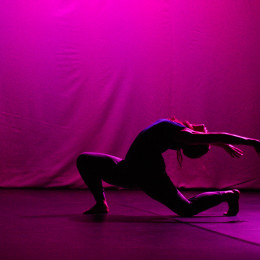
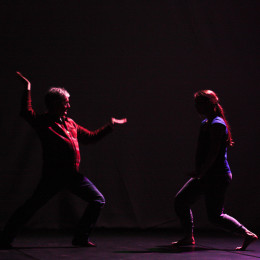
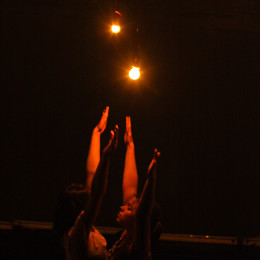
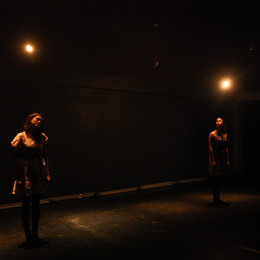
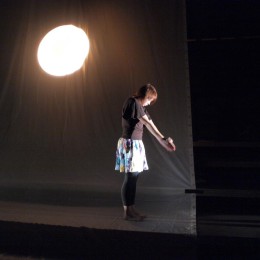
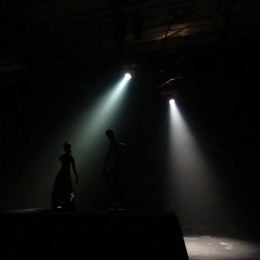
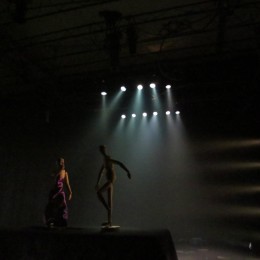
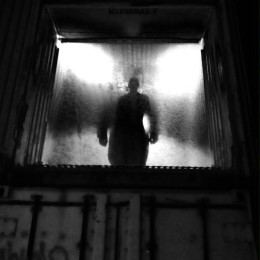
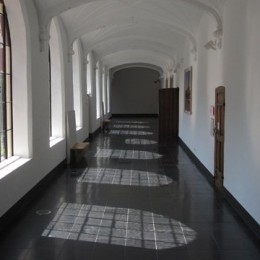
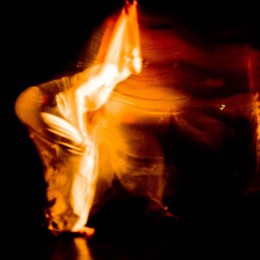
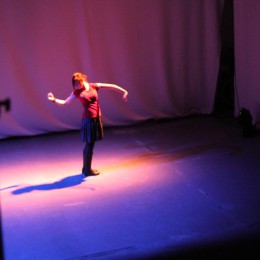
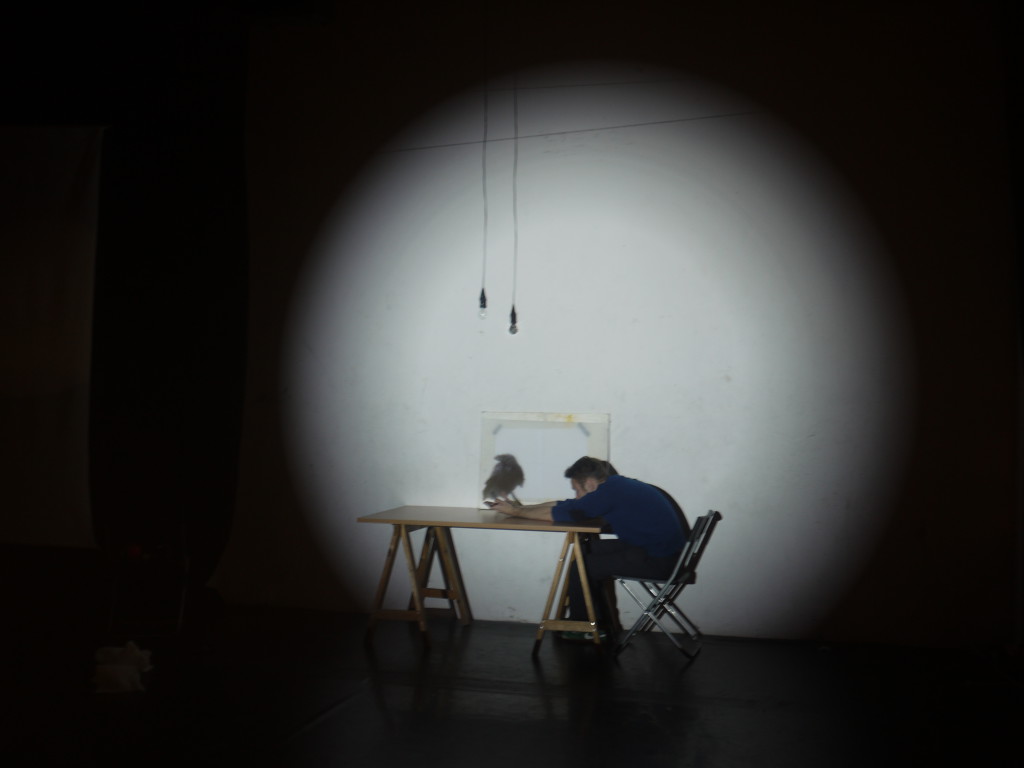
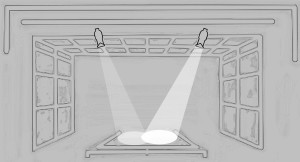
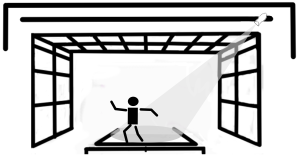
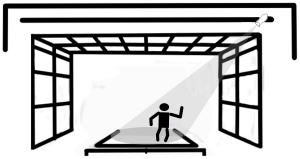
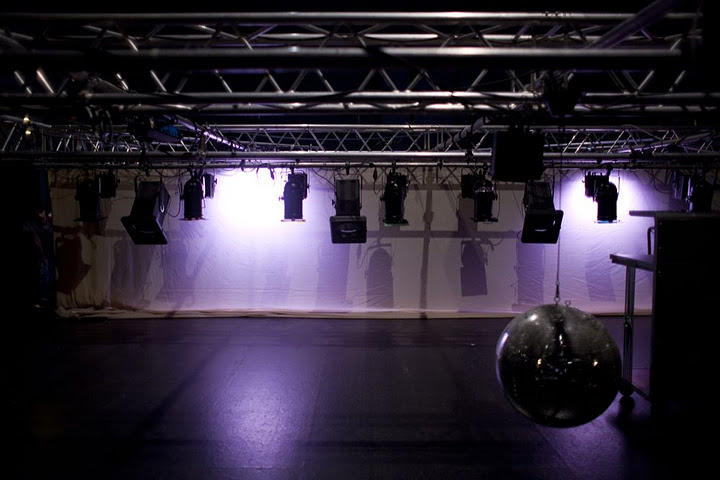
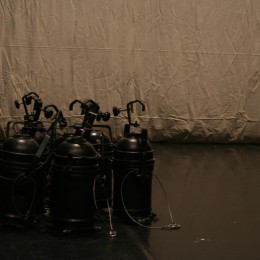
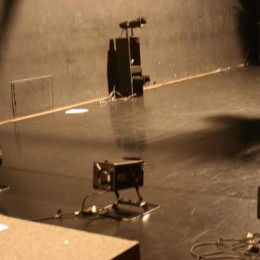
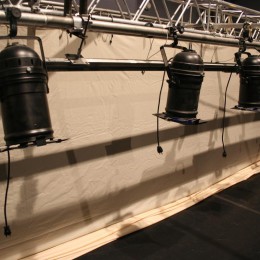
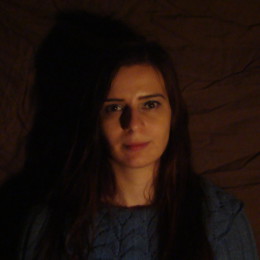
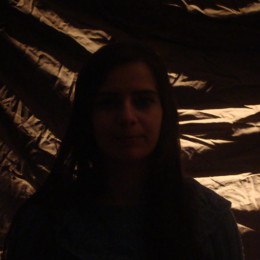
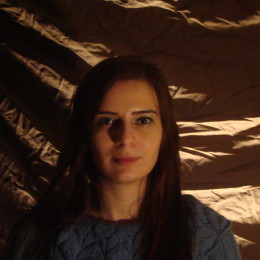
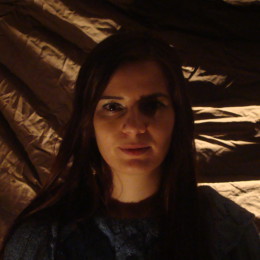
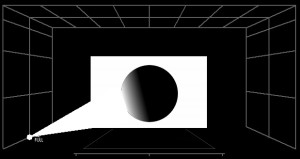
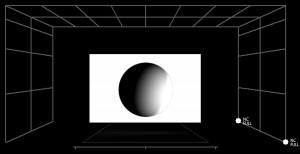
WE CAN PUT A SOURCE OF LIGHT ONLY AT A HANGING POINT.
Most often we see light as it is reflected off various surfaces. How it is distributed onto
these surfaces depends on the source’s direction and quality—attributes completely controlled
by the lighting designer.
WOLF, R a Dick BLOCK. Scene design and stage lighting. Tenth edition. xxiii, 645 pages. ISBN 11-113-4443-4. p. 313
Light travels in straight lines.
The light reflected by bright objects keeps the same angle of incidence.
The light reflected by dull objects can be dispersed in all the possible directions.
Introduction
The fourth lesson of the Knowledge Center of the European Lighting School deals with the angle of light. The goal is to understand the influence of angle, direction, position of a source on the stage, attraction of attention of a spectator to the object / actor, creation and formation of the space. Possibilities of creation of a semantic content, shift.
Specification of knowledge acquired from the lesson:
These main questions this lesson aims to answer:
Which are the possibilities of theatre, stage to place the lanterns?
Where to place sources of light?
Which are the possibilities of directing the light in a theatre?
Does any specific scene require any specific angle of light?
Would any type of a scene correspond to a specific angle?
How the direction of the light affects its impact onto the spectator?
How does it help framing scenes?
How the angle of light affects the scene and viewer’s perception?
Is there any semantics of light angles?
Author and tutor of the lesson:
The lesson was prepared by František Fabián and Martin Špetlík with cooperation of Jan Komárek, Šimon Kočí, Jan Purkert.
Photos courtesy of Institute of Lighting Design and Jan Purkert. Other sources are quoted separately as appropriate. Some were images created in Virtual Light Lab.
Definitions in the Key terms section are mainly retrieved from Wikipedia.
Tutor for the lesson is František Fabián and Martin Špetlík who are available for questions between 1st and 14th August of 2015 – you can contact them via the contact form at the end of the lesson or by pressing button Contact the Tutor. Reply is not guaranteed, unless submitted within the given period of time
Topics:
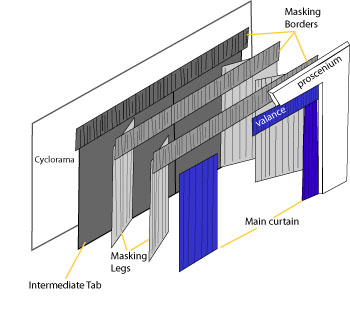
Theater space – different kind of the theatre / stage, division of the space, stage elements ( backdrop, projection screen, legs, borders etc.).
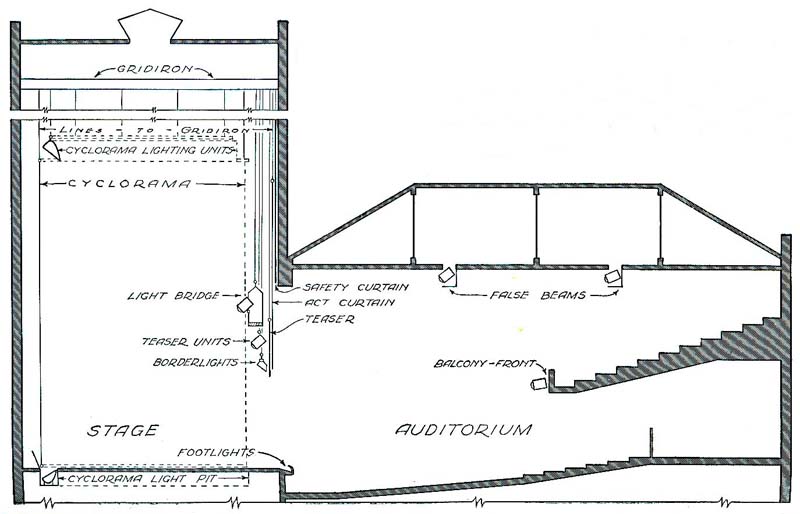
Hanging points, positions for placement of lanterns (bridges, ramps, proscenium, balconies, boxes, grid, truss system, fly bars).
Position of a lantern and its angle in the relation to the stage / object, basic directions of lighting and their combinations, distance and its connection to the beam of light. (Beam, throw, angle, focus, set up etc. ). Wash, special (spot), cyclorama lighting, actors lighting, convenient selection of a headlight for the specific use.
Three point lighting, Four point lighting, combination of directions, angles, positions of lanterns.
Time requirement for a lesson:
The lesson as itself takes approximately 6 hours, other parts (external links, case study, tasks) depend on a participant´s interest.
Introduction Test
Key terms
Beam
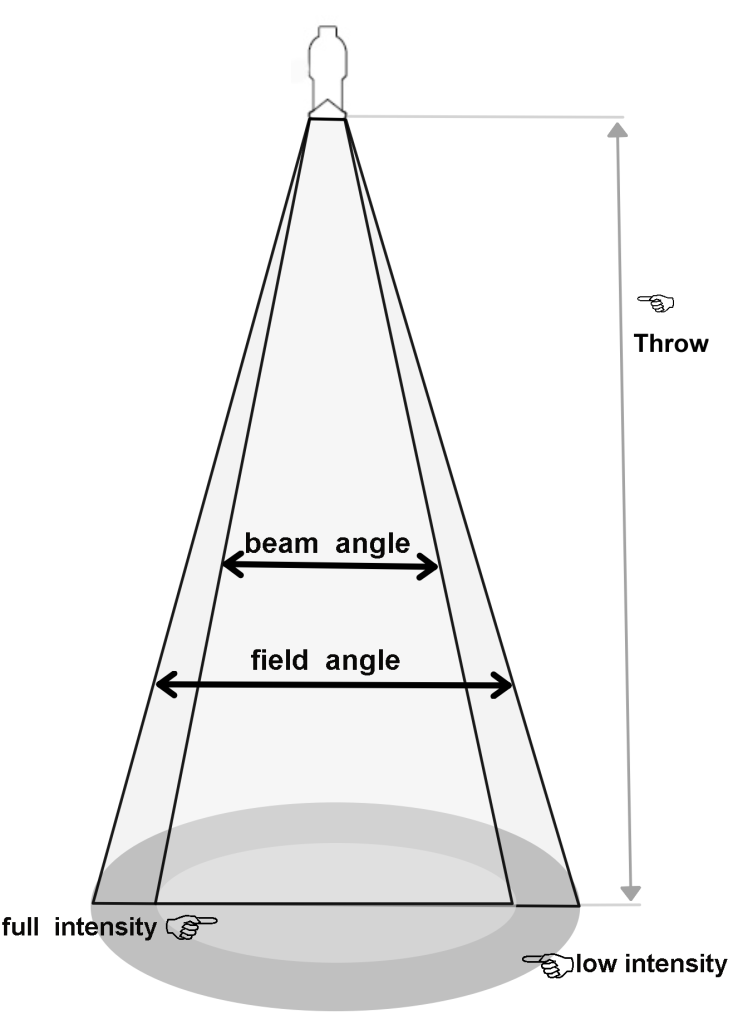
Throw: The distance from the fixture to the performer or scenic unit being lighted.
Beam of light is a directional projection of light energy radiating from a light source.
Angle of incidence is the angle between a ray incident on a surface and the line perpendicular to the surface at the point of incidence, called the normal.
Front of house (FOH) any lighting fixtures that are on the audience side of the proscenium arch are referred to as being FOH.
angle of light
Front light– a term indicating the direction of light from the front.
Side light refers to the direction of the light from one or two sides.
Back light refers to the direction of the light from behind.
Down light indicates the direction of light from above.
Low light indicates the direction of light from below.
Types of lighting
Key light is visually dominant lighting of a section of a scene, which is essential.
Fill light – the additional light completes the context of the scene.
Blackout: This refers to a situation, where there is no light on the scene, it’s dark. As a function on lighting console desk, there is a button BO, DBO (direct blackout) that turns out all sources at once.
Rembrandt lighting is a lighting technique that is used in studio portrait photography.
Three point lighting is a standard method used in visual media employing three separate positions to illuminate the subject.
Four point lighting is a method employing four separate positions to illuminate the subject.
Background light is used to illuminate the background area of a set.
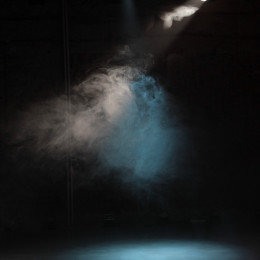
Godspot is an effect, created using a powerful spotlight, placed directly above the stage almost straight down.
Foot light is a theatrical lighting device arranged to illuminate a stage from the front edge of the stage floor in front of the curtain.
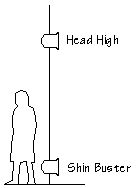
Shin Busters: Lighting instruments placed at the sides of the stage at or near floor level, frequently used in dance
Special: One or more fixtures focused on a limited area, usually not part of a wash.
Wash: Multiple fixtures which, when used together, cover the entire performing area with a single color from the same direction.
Background light is used to illuminate the background area of a set.
Cue is generally the trigger for an action to be carried out at a specific time or a recorded lighting state in a narrower sense.
White – in theatrical lighting, so is labeled the pure light of the headlight without color filter or correction, and different types headlights have different color temperature of such “white”. Most of the time, this white is from halogen sources, thus more yellow color by its temperature of chromaticity (about 3200 K). This trivial name comes from the practice.
Footlight is a theatrical lighting device arranged to illuminate a stage from the front edge of the stage floor in front of the curtain.
Ridging positions
Front of house any lighting fixtures that are on the audience side of the proscenium arch are referred to as being FOH.
Balcony rail might be a mounting position. A bar for mounting stage spotlights on the front of a balcony
Box boom is a mounting position for stage spotlights at the front side of the auditorium, usually a vertical pipe.
Bridge (lighting bridge, loading bridge) is a gallery or catwalk, sometimes suspended from overhead rigging to allow it to be raised, lowered, or repositioned.
Followspot booth is a raised area, usually enclosed, from which high intensity spotlights are operated to “follow” performers.
Back of house (BOH), backstage is the area of a theatre not open to the public.
Theater space
– division of the space, stage elements ( backdrop, projection screen, legs, borders etc.).
Hanging points –(rigging positions) positions for placement of headlights ( bridges, ramps, proscenium, balconies, boxes, grid, truss system, fly bars).
Sight lines is a normally unobstructed line-of-sight between an intended observer (or spectator) and a stage, arena etc.
Cyclorama is a large curtain or wall, often concave, positioned at the back of the stage area.
Flats are flat pieces of theatrical scenery which are painted and positioned on stage so as to give the appearance of buildings or other background.
Batten is a long metal pipe suspended above the stage or audience from which lighting fixtures, theatrical scenery, andtheater drapes and stage curtains may be hung.
Legs are a stage design element, intended to cover a part of the stage, technology, actors and the like. Generally, it’s a strip of velvet hung vertically from a ceiling construction to floor on the sides of the stage.
Forestage: space (in the classical theater in front of the proscenium arch) in the front of the stage.
Baletizol: Special dance surface, standard colors are black, white, gray, there is possible to order in any color or impressive designs.
Fly bars: The point or linear hanging position over the stage, it can be manual or mechanical.
Battery: a set of lighting units usually located on one of the linear fly bars.
Backdrop is a painted curtain that hangs in the back of the stage to indicate scenery.
Truss system is a modular system of trusses, from which it is possible to build a mobile freestanding podium frame with ceiling grid for suspension of ligting devices.
Cyclorama is a large curtain or wall, often concave, positioned at the back of the stage area.
Fly system is a system of lines, blocks, counterweights and related devices within a theater that enables a stage crew to quickly, quietly and safely fly components such as curtains, lights, scenery, stage effects and, sometimes, people.
Fly bars: The point or linear hanging position over the stage, it can be manual or mechanical.
Types of theater space
Theater in the round is a stage situated in the centre of the theatre, with the audience facing it from all sides.
Site-specific theatre is any type of theatrical production designed to be performed at a unique, specially adapted location other than a standard theatre.
Thrust stage is one that extends into the audience on three sides and is connected to the backstage area by its upstage end.
Black box theater consists of a simple, somewhat unadorned performance space, usually a large square room with black walls and a flat floor.
Handling
Blocking is the precise movement and staging of actors on a stage in order to facilitate the performance of a play, ballet, film or opera.
Other
Kruithof curve describes a region of illuminance levels and color temperatures that are often viewed as comfortable or pleasing to an observer.
Lesson 4
1. Beam angle
Angle is arguably the most crucial quality of light. It is the geometrical relation between a source of light, an object and a spectator that tells a story, determines location or creates the proper mood. It is the difference between a waning crescent and a full moon.
The angle of light determines which surfaces of an object are lit, how and where light reflects or can even create an illusion and change the shape of things we perceive. By properly choosing an angle you get to decide what to reveal and what to hide, you get to draw the line between the light and the shadow.
The only way how our brains can recreate a 3-dimensional shape of an object by sight is to analyse which surfaces are lit and which remain in shadow. By combining visual perception and experience your brain will tell you that there is a huge granite ball and that it’s rolling your way.
In this lesson we will explore different angles of light, why and when to use them and how to combine them. Naming of these angles indicates the position of a light source relative to an object and a spectator. It is crucial to remember that the same lighting can appear very different to a spectator located on the other side of an object, above it or beneath it.
1.1 Front light
“The only thing that looks good in front light is the Moon.”
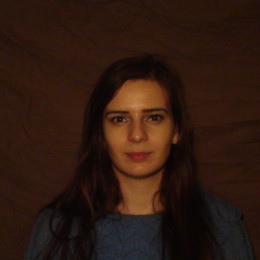
This is your basic angle, often called FOH (front of house). As you might have guessed, front light hits the object from “the front”, which is where a spectator (or a camera lens) is located. It’s what you get when you light up a distant object with a torchlight in your hand. Try it for yourself – every surface you can see is lit evenly and the “dark side” is hidden from your sight.
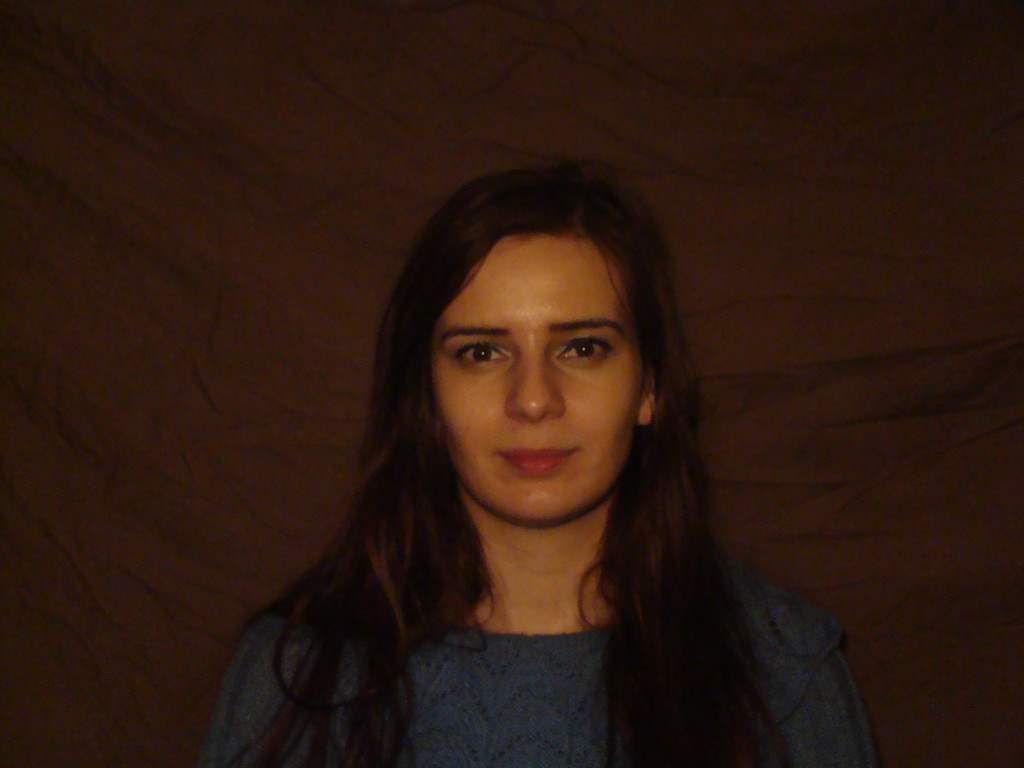
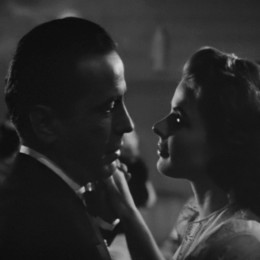
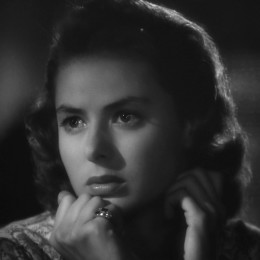
It causes flattening of the object and there are not shadows on it. For that reason, the light in 45° is used for lighting in theatre, which provides the best depth and volume. Light above the heads of actors help to see clearly eyes and mouths of actors. If the angle of light is too obtuse, disturbing effects may arise. Actor’s face is lit homogenously and it rather seems flat. No distinctive shadows come into existence and modeling is minimal. Actor’s eyes are best visible.
Frontal lighting eliminates shadows and that’s why everything looks flat, almost 2-dimensional. Perception of depth is heavily impaired and it’s hard to see the actual shape of things. Typical example is using a built-in flash on your camera, this is why all of your party pictures look ugly.
For a perfectly frontal lighting you’ll need the source of light right between your eyes – which would be very uncomfortable. In most situations are lanterns located above spectators – on high tripods, under the ceiling or on a balcony of a theatre. This is what we usually mean when we refer to F.O.H. lighting – it’s not so ugly, you get a basic sense of depth and we get rid of those long annoying shadows.
When you light up a stage this way you can argue that your job is done – everything is visible and the rest is up to the actors. Some people will be actually happy with it. But if you consider this lighting boring then congratulations – you’re on the way to become a lighting designer.
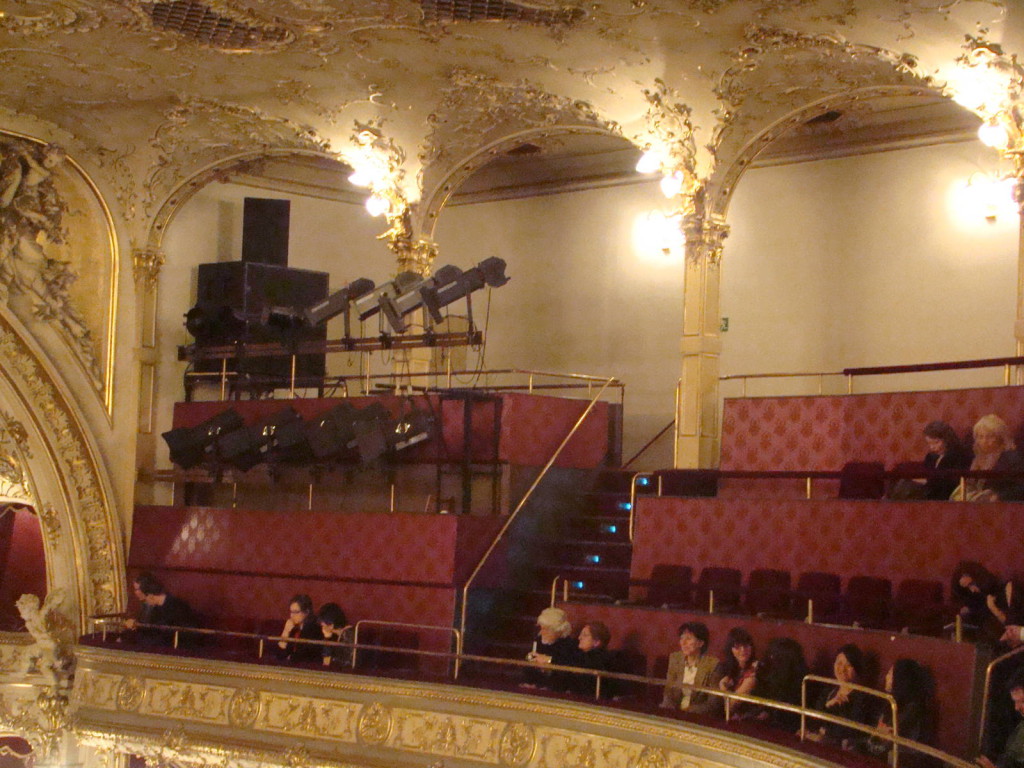
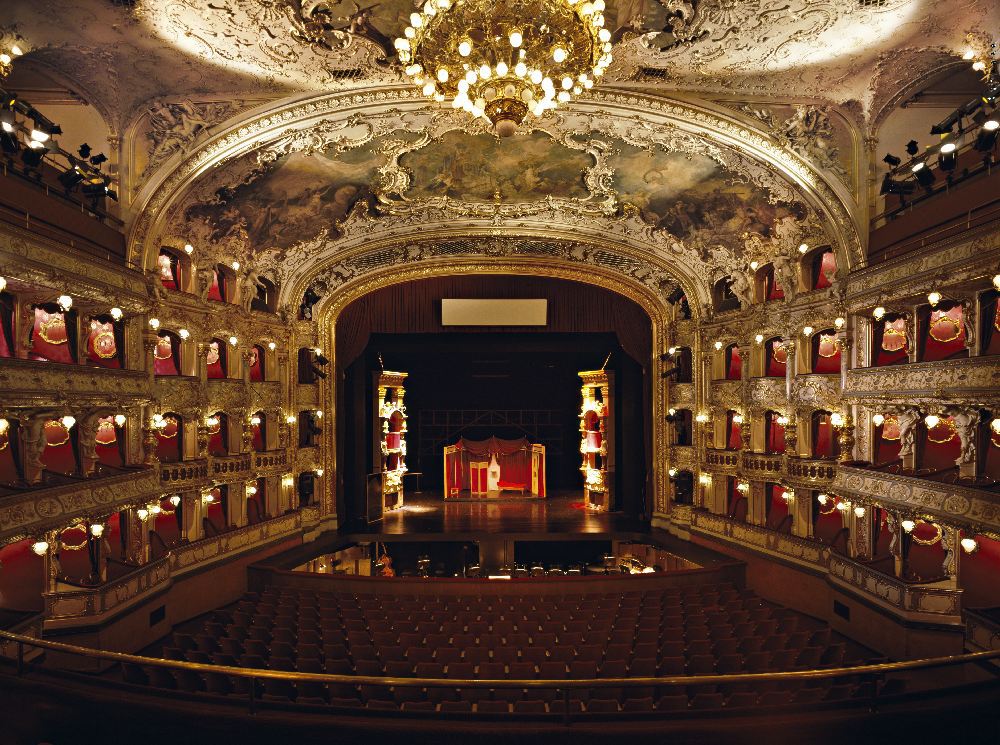
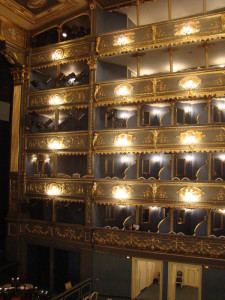
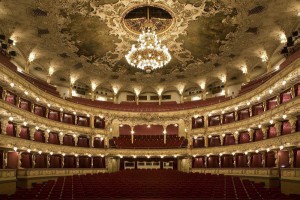
Three quarters position. The basic type is the front lighting, FOH (“front of house) indicates the position of the latern relative to the stage, thus the direction of the light from the front side i.e position in the auditorium where the technical apparatus (lights, projection etc.) is oriented towards the stage, in the identical angle as the viewer’s. In the theater strictly speaking, there can be no front light at all as it is the location, where the audience sits. Many theaters have a construction inbuilt into side boxes or side galleries in front of the proscenium arch. The position of 450 up from the horizontal line and roughly 450 to both the side from the central axis. These positions were the main technique in the 20th century as the faces of actors are lit favorably, but when the action moves into the forestage, some problems emerge as the it is difficult to lit the edge of stage without destroying the illusion of the proscenium arch by lighting it. At the same time, these positions cannot reach the depth of the stage. (State Opera in Prague)
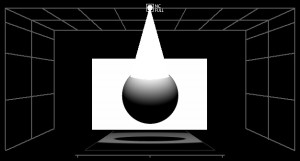

1.2 Low light
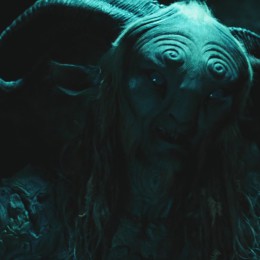
“Trick or treat!”
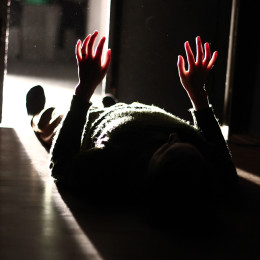
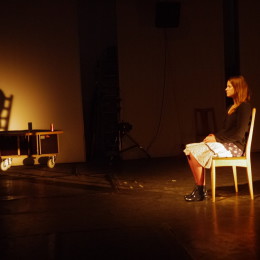
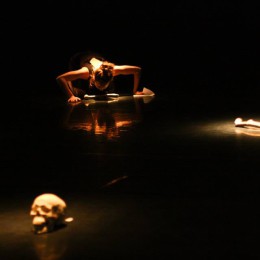
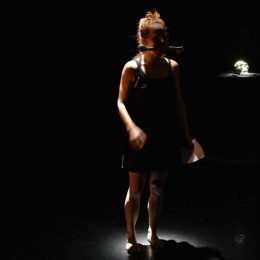
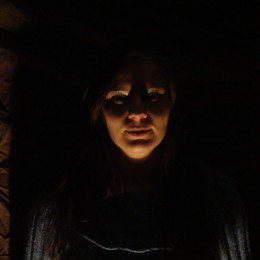
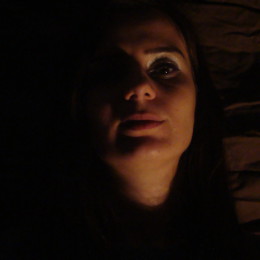
This might have been the first angle of artificial light experienced by early humans, gathered around a fireplace. Also, the earliest forms of theatre were lit up by candles located in front of the stage. By “low light” we usually understand low frontal lighting when the source is located on the floor in front of the object. Or even lower – under a grate or glass or on a lower structure. You can also achieve low light by reflecting light off the floor, this is a trick for extra points! Anyway, low light is every rigger’s favourite – they would just place the lantern on the floor, no climbing, no crawling, an easy job.
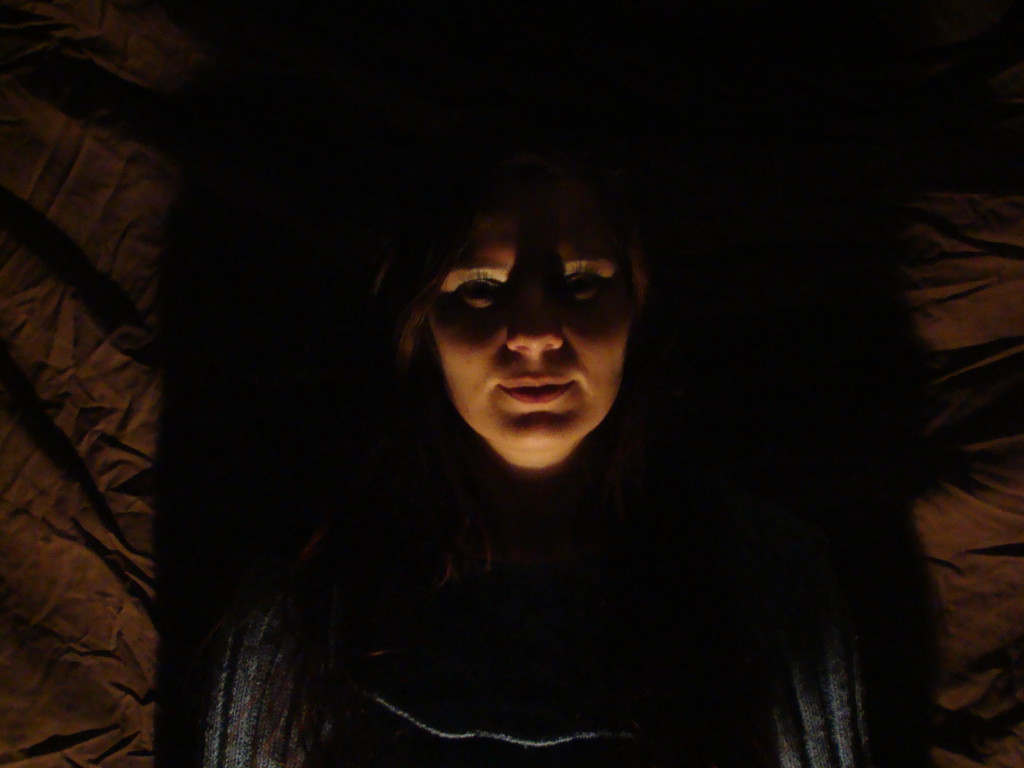
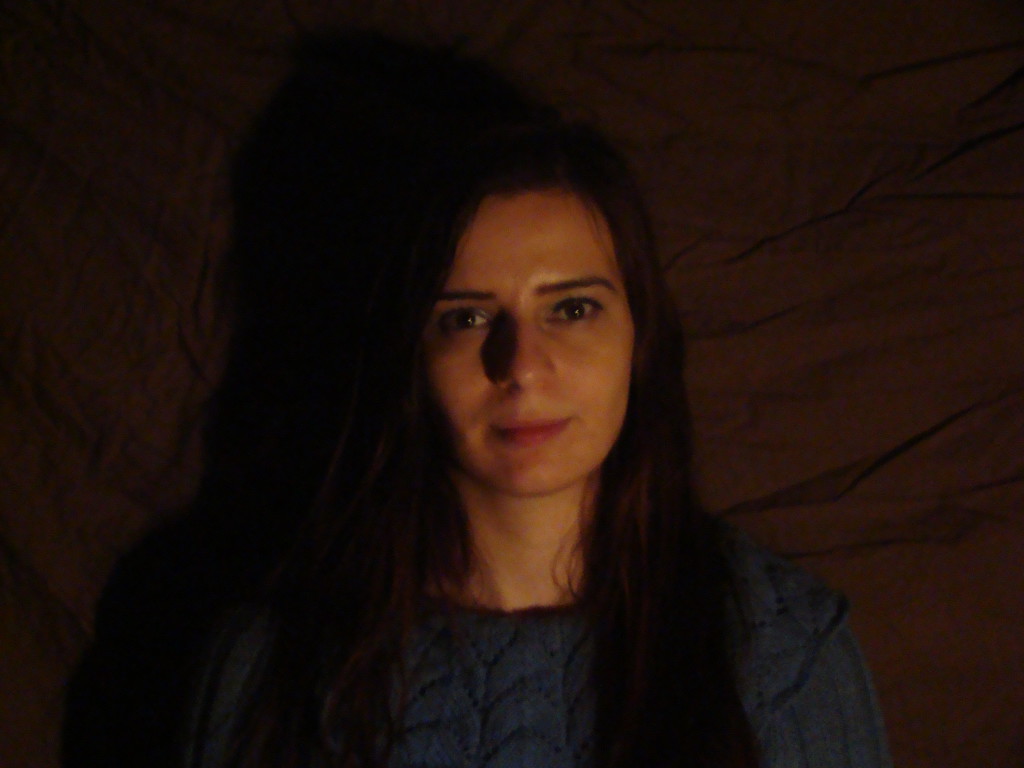
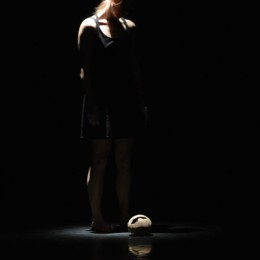
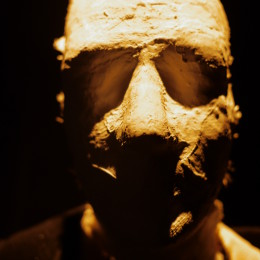
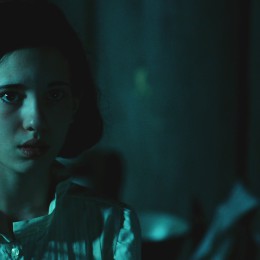
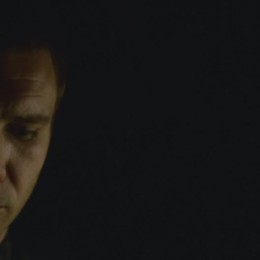
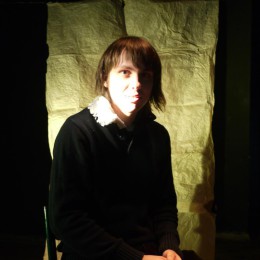
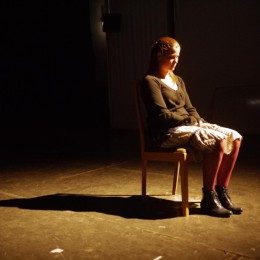
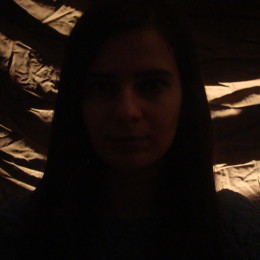
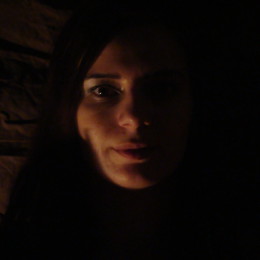
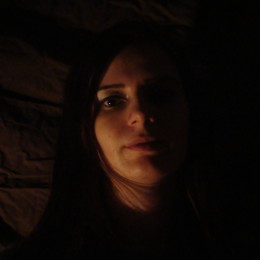
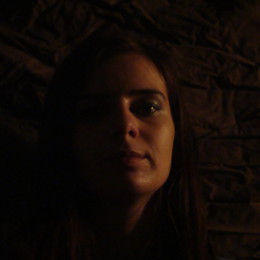
The direct low light causes distinctive shadows above the nose and brow ridges and the neck and edge of chin are highlighted. Modeling is considerable and quite rarely perceived in the real life and thus often used for creation of drama or scary effect, it creates unnatural shadows and a barrier that is erected between actors and audience, but that might be a wanted effect. Low front lights has the tendency to flatten the area, if used as the only one.This reversal of common angle has been used in kid’s games with flashlight and has an obvious effect.
 Low lighting is often used to give actor’s face a spooky look. Unnatural shadows above nose and brow ridges are very different from what we’re used under broad daylight or traditional interior lighting. Most golden-era horror movies are full of low light.
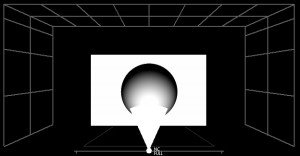
Lighting from below is rather uncommon and creates long shadows upwards and for that reason it is often used with special effects.
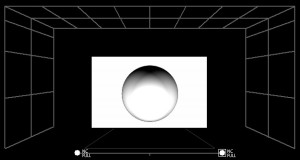
Low light is rather below the level of actor’s sight. (that might be at the trim of the ramp as was usual in the Baroque theatre). Floats were ramps with lights at the edge of forestage. In the premodern era, it was very common type of lighting, because of lack of other means.

Low light
1.3 Top light
“And the Lord smiled upon them.”
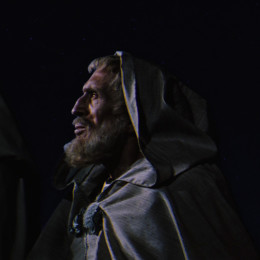
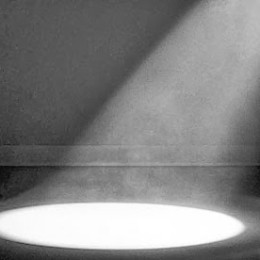
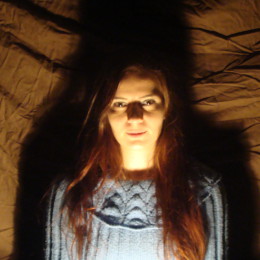
Top light, sometimes called down light. This is what you get when you stand under a streetlight or when you crawl through the canals and finally find that drainage grate. The source of light is right above the object, its shadow under it. As top light means a vertical beam of light, the effect is obvious – it gives the feeling of stillness, it can give the scene some extra “height”.
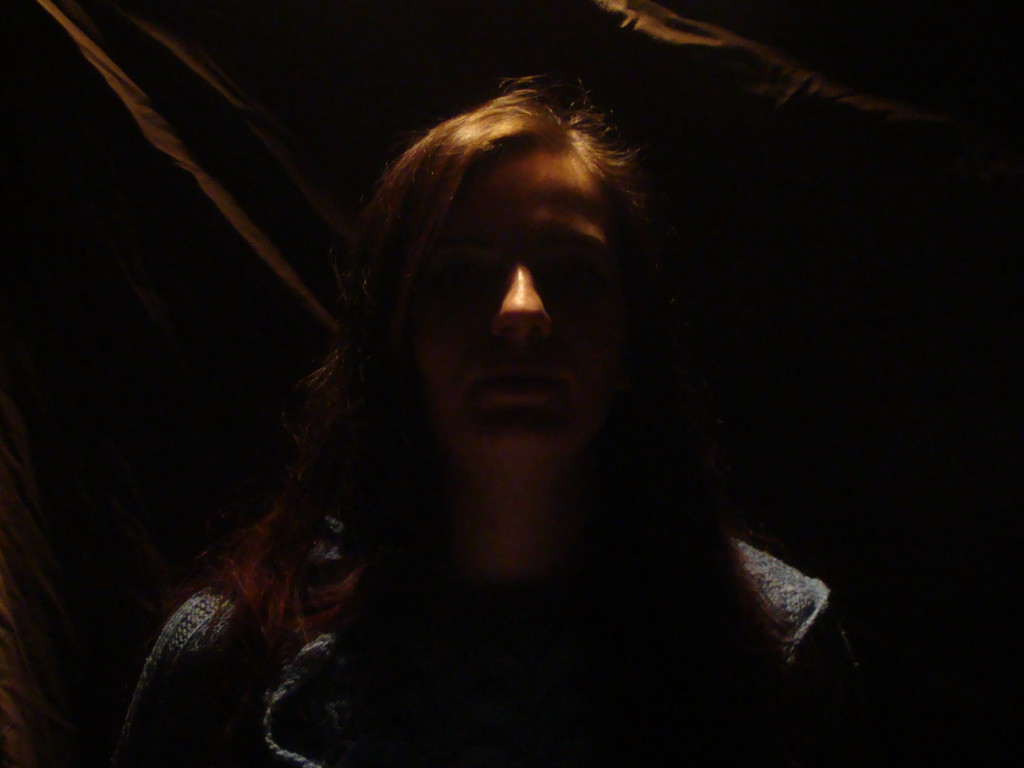
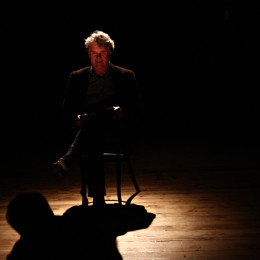
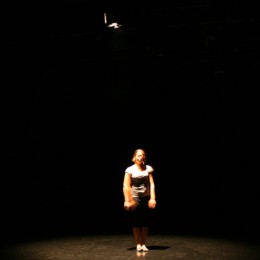
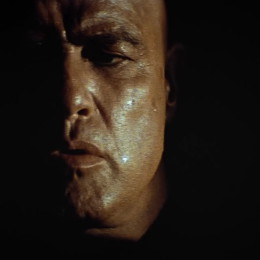
Lighting from above provides a dramatic effect and creates long shadows on the objects while leaving almost none at the surface of the floor. Down light (flood) induces the impression that the body is more massive that in reality, creates very short shadows on the ground and seemingly shortens the figure. Down light is also used to color the floor.
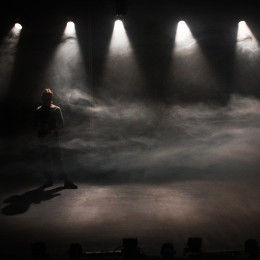
Theatre loves top light. It’s dramatic. It’s easy for actors to stand in it. If you add a bit of haze you’ll get this wonderful Finger of God – yes, this is what we talk about when we say “god light”. Seriously.
But there is a catch. Actually, quite a few. As human face is usually a more-or-less vertical surface, top light creates deep shadows and only a small tilt of actor’s head will make his/her face go black. Great actors and dancers can use this to their advantage. The rest will make you cry.
Also, top-light is not very tolerant to body imperfections as it shortens figure and makes every extra pound visible. That is not a problem with ballet but it can get quite scary when it comes to opera singers.


1.4 Back light
“Who’s there?”
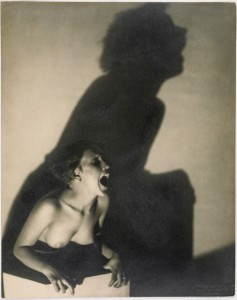
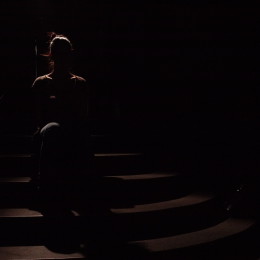
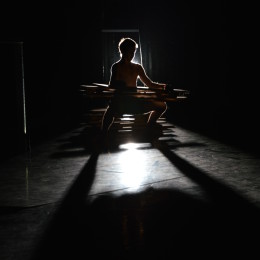
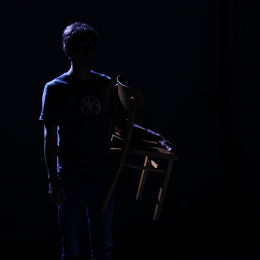
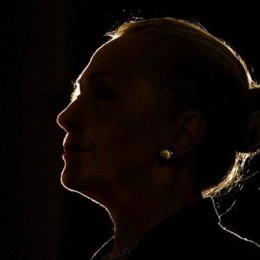
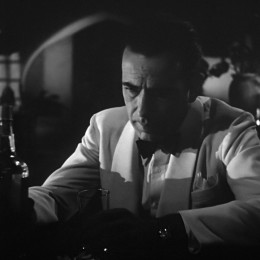
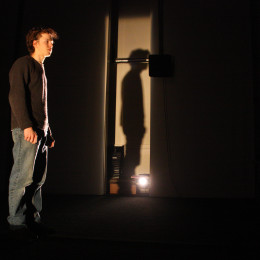
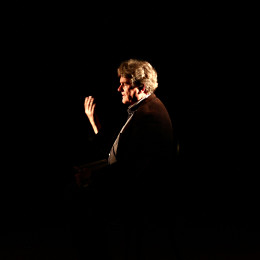
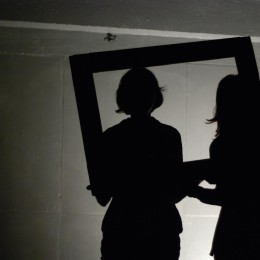
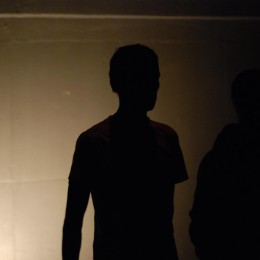
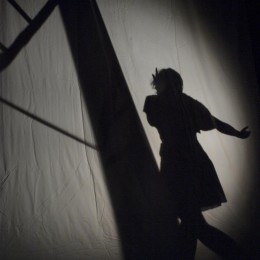
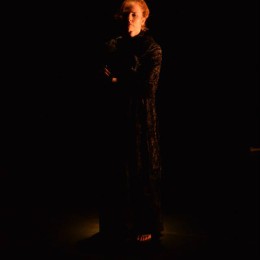
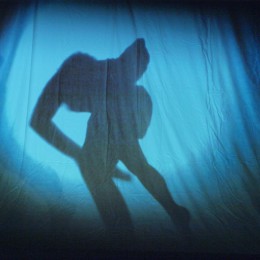
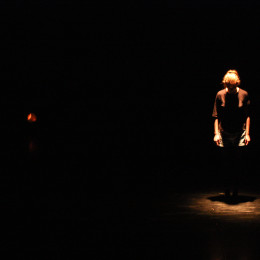
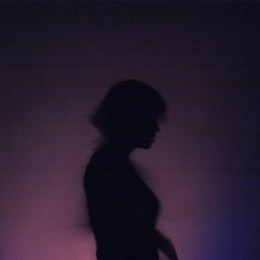
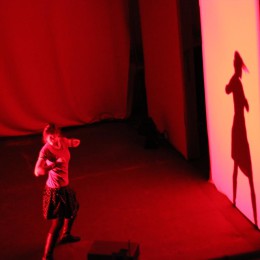
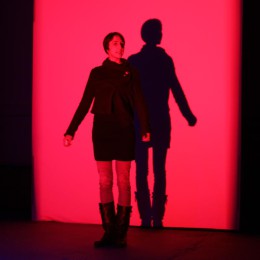
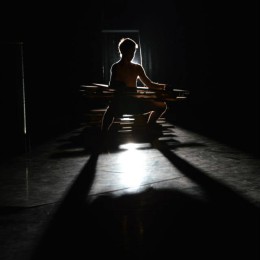
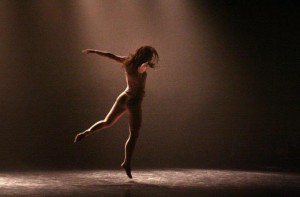
When the source of light is behind the viewed object, we call the situation “back light”. No matter if the source is above, below, bit sideways or right behind, it’s still back light and it’s beautiful. Back light does not reveal much of the object’s surface, you can only see its silhouette and a huge shadow in front of it.
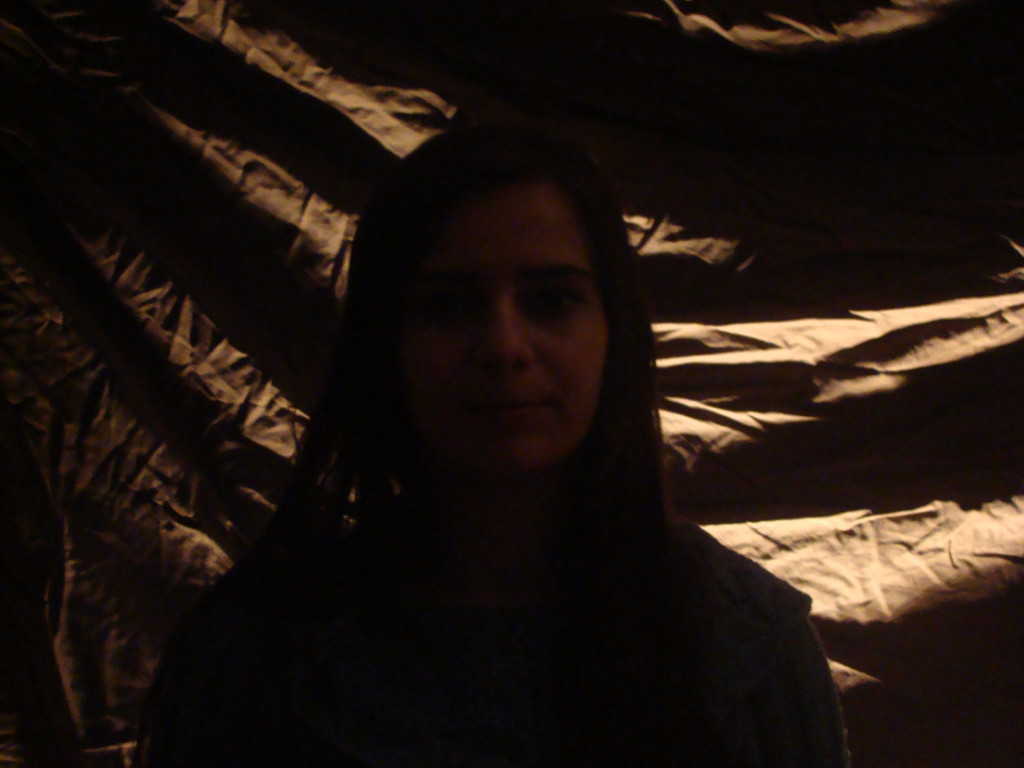
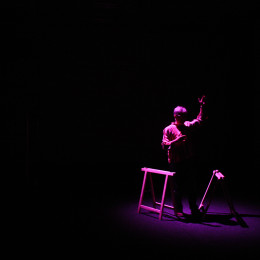
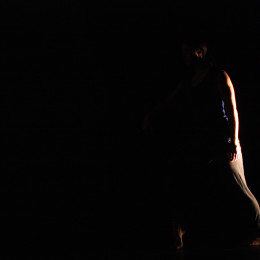
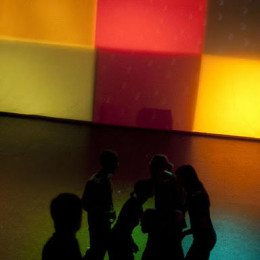
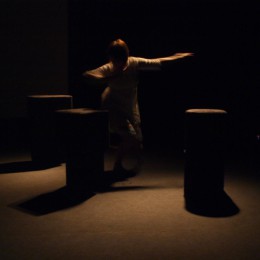
Back light indicates the direction of the lighting from behind onto the object. It is possible to have a backlight at the backdrop, however, the backlight can be used in the middle of the stage, if the object is in front of the lantern. In back lighting as almost no light is cast onto the actor’s face, it is hardly visible, but silhouette is is very much highlighted. Contours provide a dramatic effect. Back lighting creates the largest contrast possible as it is directed against the eyes of a spectator. It creates a line of brightness along the object, while the object itself remains in dark. Shadows that are created all around the character might induce an unnatural atmosphere. It is used in combination with other lights to separate the figure from the background and so provide dimensionality to him.
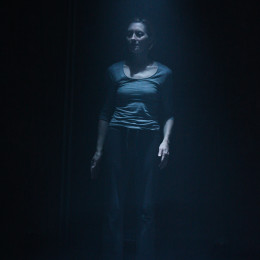
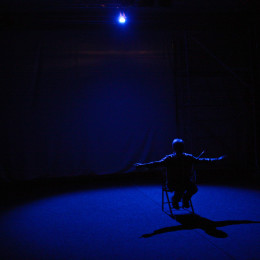
Back light alone is enigmatic. You can see the characters, their movement and distinctive shadows but you can see their faces. Looking for a “dream” scene? Make it heavy on blueish back light and you’re all set.
But back light is the spice of every lighting setup. It is perfect to improve depth perception, to “cut out” an object out of its background. Back light is the solution when you want to add a colourful feel but keep the faces nice. Back light is the way to go when things just don’t look good enough.

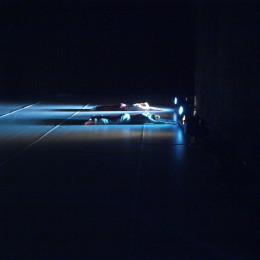
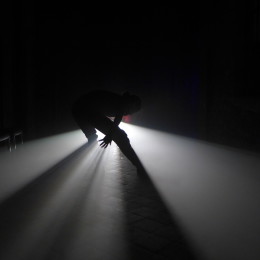
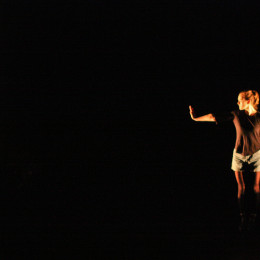
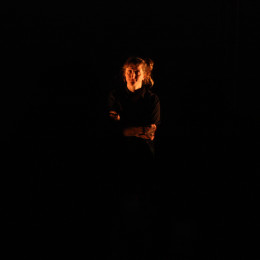
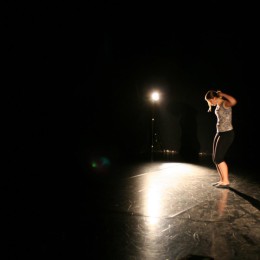
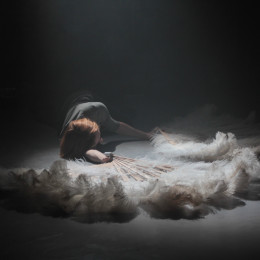
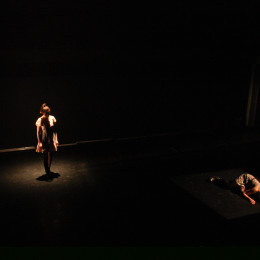
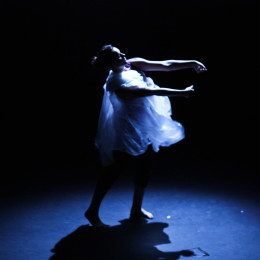
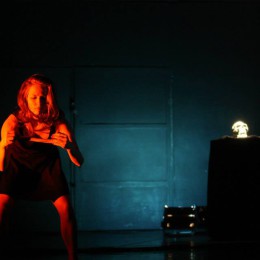
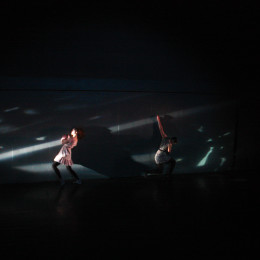
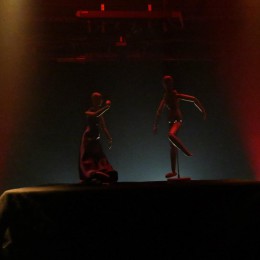
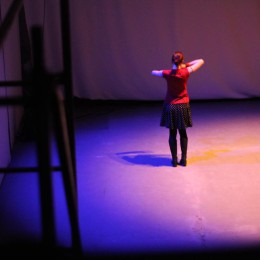
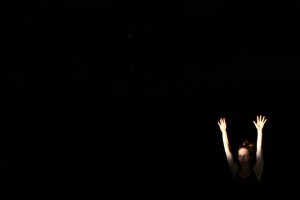
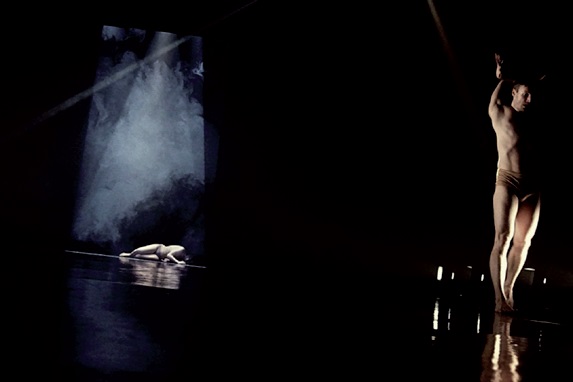
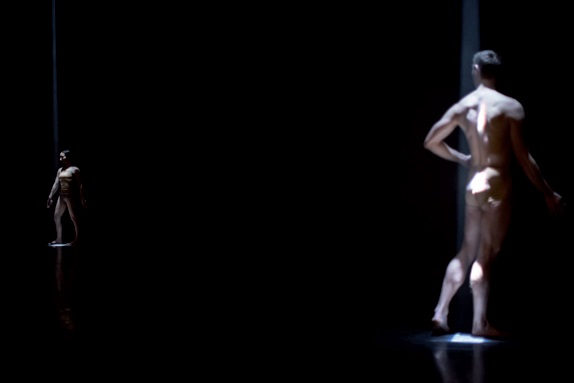
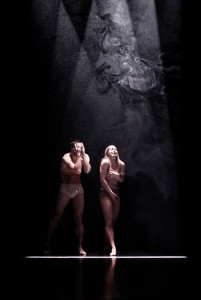
This dance action is lit only by one lantern from the right rear. (photo by Anya Šebelková; performance Fox hunting / dance group EKS)

1.5 Side light
“Dance, little sister, dance…”
There’s a dancer on the stage and there’s a lantern to his left. Or right. One side you can see, the other is lost in darkness. This is side light.
If you add a lantern from the opposite direction, it is still side light and it looks even better. This is some real classic ballet lighting.
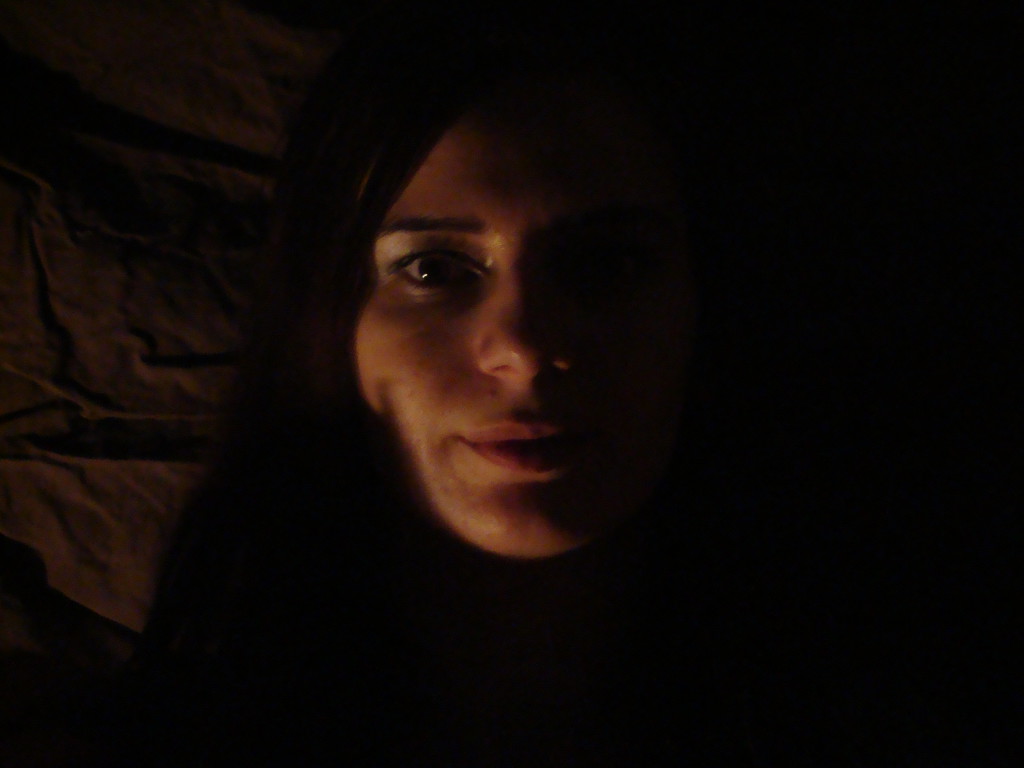
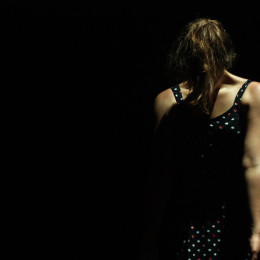
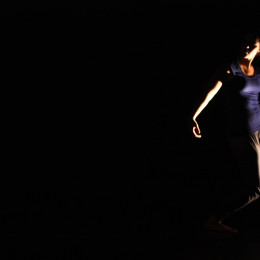
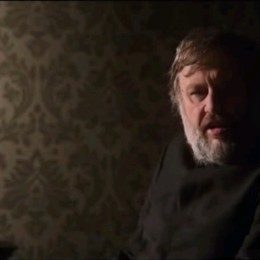
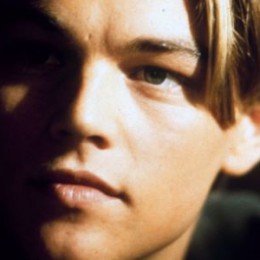
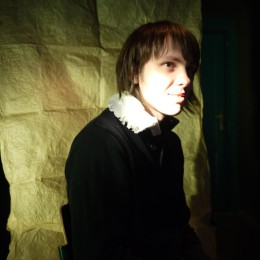
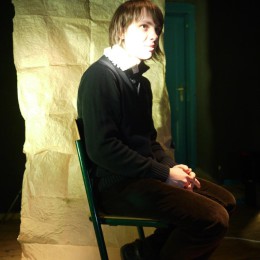
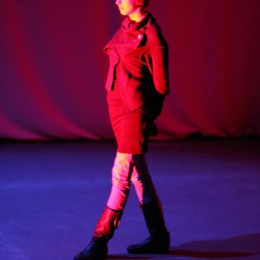
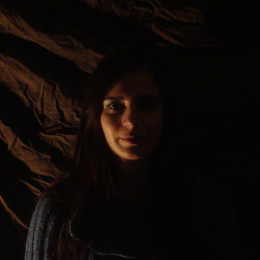
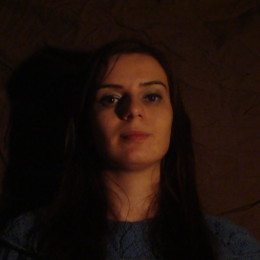
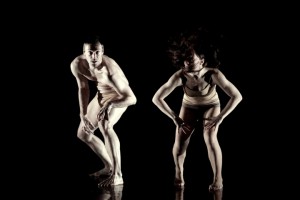
Side lighting from one side emits light from one side while the other remain in dark. Indicates the direction of the light from the side, usually 90 ° to the viewer position. Or from two sides. It creates an effect, where distinct shadows appear at the averted side of the face. The cheekbones cast shadow towards the nose as no light is shed onto the surface between cheekbones and nose. Modeling is so considerable, where the lit part of the figure emerge from the dark. Side lighting highlights sharp edges and is quite convenient for modeling of a body, especially for creation of strong shadows that highlight the volume. To strengthen the effect, the light of a complementary color could be used. Especially in ballet for these qualities, where the dancers body is the main mean of expression, highlighting the volume of the body is desired. It helps to perceive the depth of the space to the audience.
When you use side light from both sides you manage to light up whole object while still maintaining a peculiar play of shadows – as opposed to front lighting. This is most desired in dance, ballet especially. Side light highlights body’s volume and shape while it accentuates its movement. Using different, complementary colors from each side only strengthens this effect.
When you watch a side-lit face, you see distinct shadows appear and facial features come out stronger than ever. Absolutely great for photoshoots.


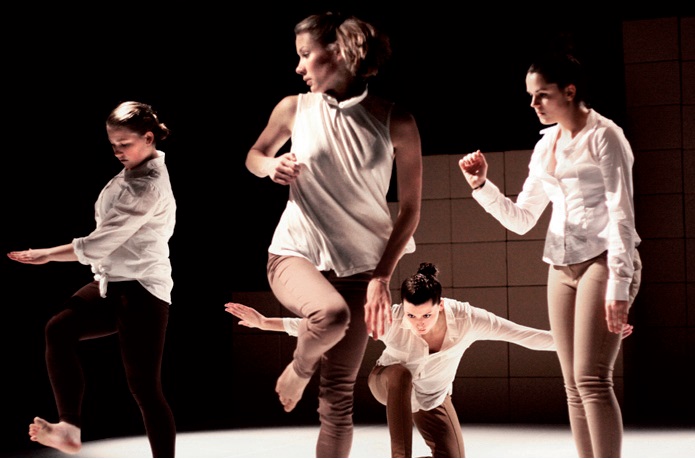
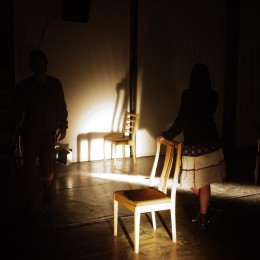
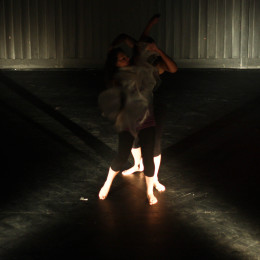
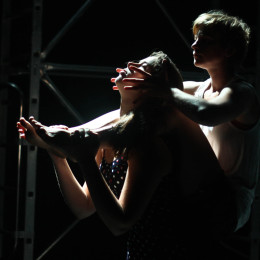
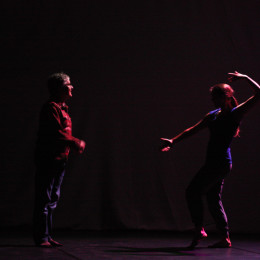
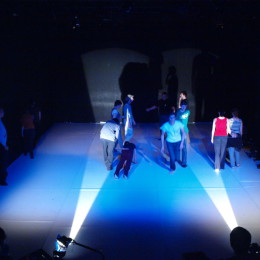
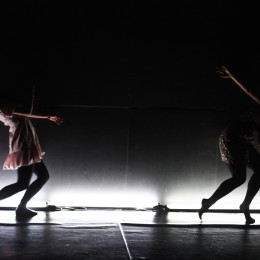
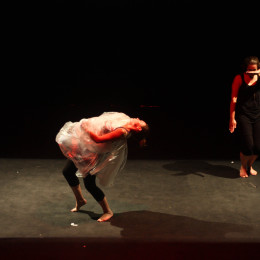
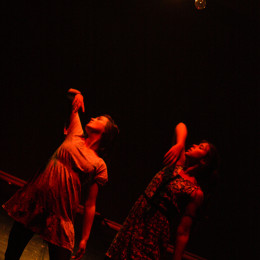
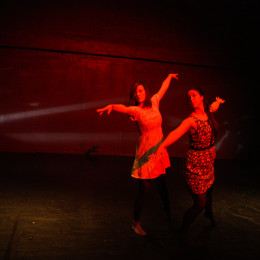
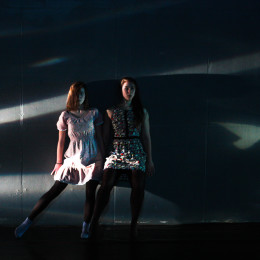
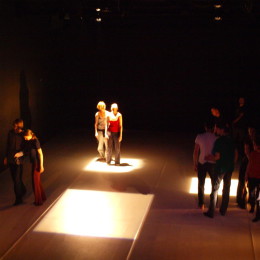
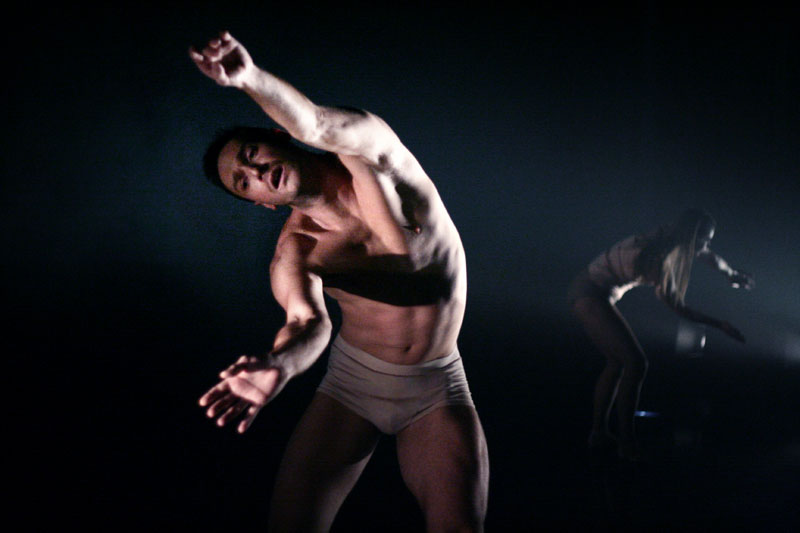
Dancers in this scene are lit by low-placed lanterns at the left side and one back light from the right rear corner; the image shows that the standing dancers have a direct source of light from the left , while the back light emits additional light onto them by reflection from white Baletizol – it is especially evident on the kneeling girl; this assymetrical lighting creates an effect of soft shadows on their bodies. (photo by Anya Šebelková ; performance Fox hunting / dance group EKS)
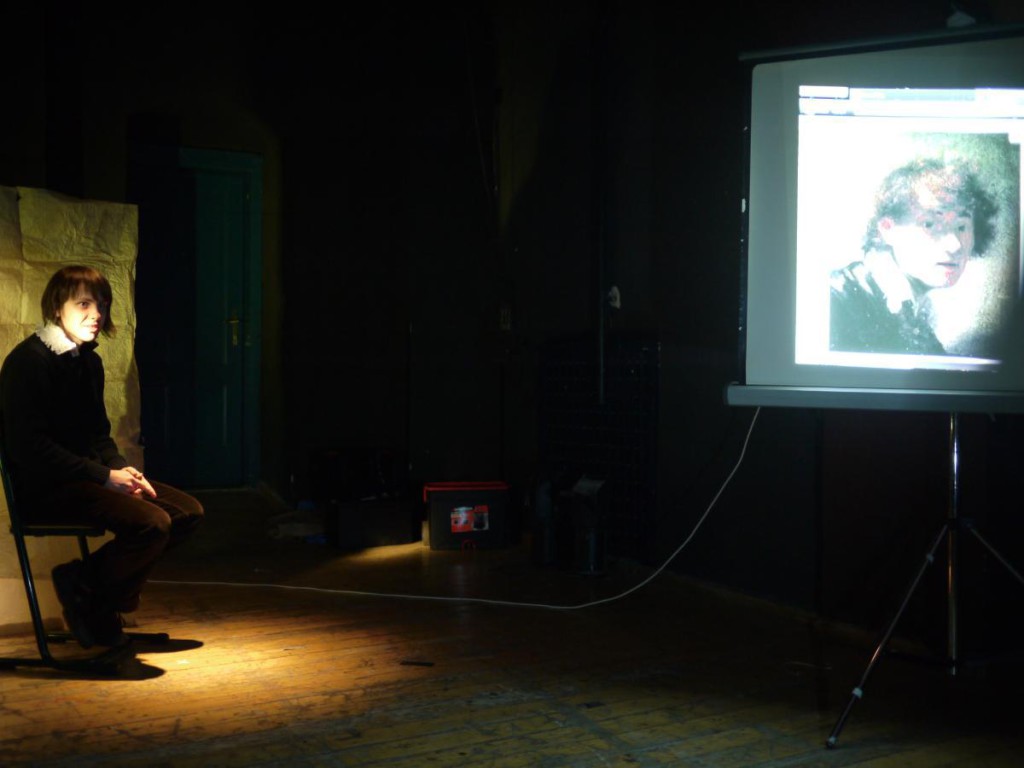
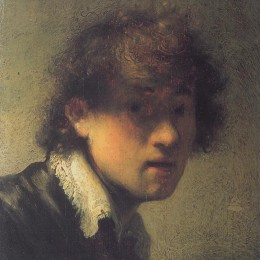
Rembrandt Self Portrait as a Young Man
2. Multi-point lighting
Some angles do a good job lighting things up, other angles are just so beautiful but you can’t see anything at all. So, usually you end up combining them. The industry has come up with a few good standard solutions. Here they are.
2.1 McCandless method
“Life was simple when I was a child.”
Once there was a guy, his name was Stanley and he did this: he gave the stage some nice front light from opposite directions, above the plane of the actors by about 45 degrees and approximately 90 degrees apart. Imagine you’re an actor facing the audience – 45 degrees up, 45 left and right are two lanterns. Then for some extra “sculpting” effect Stanley added some toplight and he saw it was good.
Later he tried to tweak the color of the front light – amber from one side and blueish from the other. This added some extra dimensionality. He saw it was better and so it became a standard for decades.
2.2 Three-point lighting
“Yes, this is it.”
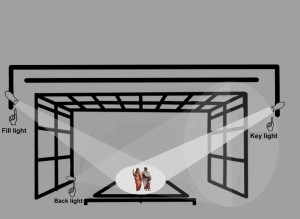
This is an advanced method for when you’re done with the classic McCandless. 3-point lighting is a general concept for every situation. It consists of key-light, fill-light and back-light.
2.2.1 Key light
“The key is in the key.”
Key light is the strongest light (or lights) directed to the main point of focus or its important part and its task is to create the main lighting effect, to emphasize its form and dimension. This is where you use all you’ve learned so far in this lesson. Choose an angle proper for the situation, rig a big lantern and turn it on. It might be enough, but mostly it’s too contrast and you can’t see what’s not directly hit by your key light. This is where fill-light comes in.
2.2.2 Fill light
“I can’t see his friggin’ face!!!”
Fill light is here to support the scene and to get you of a “I can’t see his friggin’ face!!!” situation. It works best if positioned in a direction opposite to key-light. Fill light has a complementary role to the key light, it reduces the contrast of the scene and add contrast to edges of the shadows . It would be rather softer and less intensive that the key light. The ratio between key and fill light depends on the required effect.
2.2.3 Back light
“Your mind makes it real, Neo.”
Key-light is there, fill light as well but it’s still not good. Guess what we need. Yes. The spice of all the lighting, back light comes to make things real. As mentioned before, properly placed back-light will “cut-out” objects from the background, add some depth and generally make the scene more realistic. Even if there wouldn’t be any backlight in a real situation – because your mind makes it real, Neo.
Video: http://commons.wikimedia.org/wiki/File%3A3-point_lighting.ogv
By GDallimore (Own work) [Public domain], via Wikimedia Commons
2.3 Four-point lighting
2.3.1. Background light
Sometimes your talented designers put a 50% grey costume on an actor in front of a 50% grey wall. You try your best with 3-point lighting but that guy just blends into the background. This is where the 4th point comes in – background light. We light up that background while avoiding the grey guy and – everybody’s happy.
Final words of wisdom: although 4-point lighting is the final lighting solution, you can let out one or more of the components. Absence of fill light creates a more dramatic effect. Strong back light, no key light and only a touch of fill can feel enigmatic or dreamy. Proper, soft fill light against a contrastly lit background is absolutely fine. Or you can be really hardcore and just keep black silhouettes against a perfectly lit background, then shoot ‘em up with a sharp followspot. Awesome.
Remember, when it comes to angle, everything is allowed. Experiment. Once you control the magic, no angle of light is ugly.

3. Genres
3.1 Drama
Angle, location, and distance are a determining factor that would set how the light and shadow would be perceived.
The direction of light is a key factor for the viewer’s perception, with which it is possible to organize space, render the scene as well as it’s a desirable way of highlighting performers. In accordance with the genre, there are techniques that can achieve the desired impression – e.g primarily visible facial expressions, gestures and delineation of figures in drama and pantomime, as well as the modeling of a scene, including its changes, in dance of expressive expression, drama and dimensioning of space (rather than scenography). In addition to selection of the type of lanterns to suit the purpose, the directing of light is precisely one of the first tasks of a lighting designer, it is actually even before that in the work order. While the variety of available lights in the theater space can be extended by a rental (external hiring), directing options are often limited by the architectural design of technical facilities, including the type of theater space. The classical proscenium theatre has been perfected throughout the centuries, although in many theaters, the possibilities are limited due to historical monument preservation. Lighting equipment in many proscenium theaters contains three washes at each side that are focused to light faces of actors.
In addition, a small classical theater with similar architecture can lack a sufficient number of possible positions from the position of the auditorium (FOH) and on stage (forestage battery, fly bars).
In regard to the direction of light, there are also used the concepts of light angle and spotlight position, which help determine the desired effect. These factors are dependent to a large extent on the architectural solution of technical facilities (possibility of suspension points) and one can often run into limits that theater space pose to the ideal direction of light according to plan. For example, from the aspect of the position, large stages are usually not limited by the possibilities of spotlights location (several auditorium, stage bridges, side bridges, tower of the proscenium arch, flybars, etc.), while usage of one spotlight is only few times sufficient for even the chamber, concise image.
Angles of lighting are one of basic means of expression and its usage has not only visual potential, but has an effect on the psychology of perception. The main requirement for (not only) drama theater is good visibility of the performing gestures and facial expressions, which means sufficient intensity and appropriate directing of instruments (FOH, front, i.e. in the direction of the viewer). As much as the position of the lights concerns, the ideal angle, in relation to a standing figure, is 45° (30 to 60°) in the vertical and horizontal direction. Light with such direction is the one, which does not throw distracting shadows under the eyes and nose while portrays the volume of a character more flexibly. To do this, you must have the appropriate position, i.e. adequate height and distance of suspension points, so that it is possible in this manner to cover the entire stage, with several rows of these front lights according to its size. A large role is also played by the angular extent of the cone of the used light.
In the Czech Republic, the standard is to use FOH lanterns, PC or Fresnel on these positions, in the Anglo-Saxon world, one can often come across profiles. If such an ideal position is not available or there is a need of supplement lighting, it is possible to add light with direct front light, which visually makes three-dimensional objects more flat and according to the size of the vertical angle, it can throw long shadows (i.e. by the low position of the spotlight). The front ground position at the edge of the forestage was used already in the Baroque theater, where a large number of sources in a row was placed. By itself, this direction has a specifically expressive impact (almost “ghostly”), it casts petty shadows on a figure and a distinctive shadow on the backdrop, but it can help to eliminate shadows on the face in combination with other upper front lights. More of these ground sources adjacent to each other deletes each other’s shadows on the backdrop and provides soft light.
For balanced “place”, however, the front direction of the light is not sufficient, because it is not sufficiently plastic to the volume of figures, objects. It needs to be more supplemented by side light, which both delineates the volume and adds light to the figure for utmost range of viewers, whose viewing angle is different than in the middle of the auditorium. Also it’s not an insignificant fact as well that the actors, having a dialogue face to face, see the entire partner’s face very well thanks to side lighting, not only a half from the side of the audience, which is more comfortable in terms of actors’ actions. These side lights should not be too low so that the actors would not shield each other. In perfectly lit space, the side lighting is still absent, i.e. away from the backdrop to the audience, which drawn contours of characters in appropriate intensity of proportions. For the location of the backlights, it is crucial to choose their vertical angle, hence their number in the depth of the stage, so that the lanterns wouldn´t dazzle spectators in the front rows.
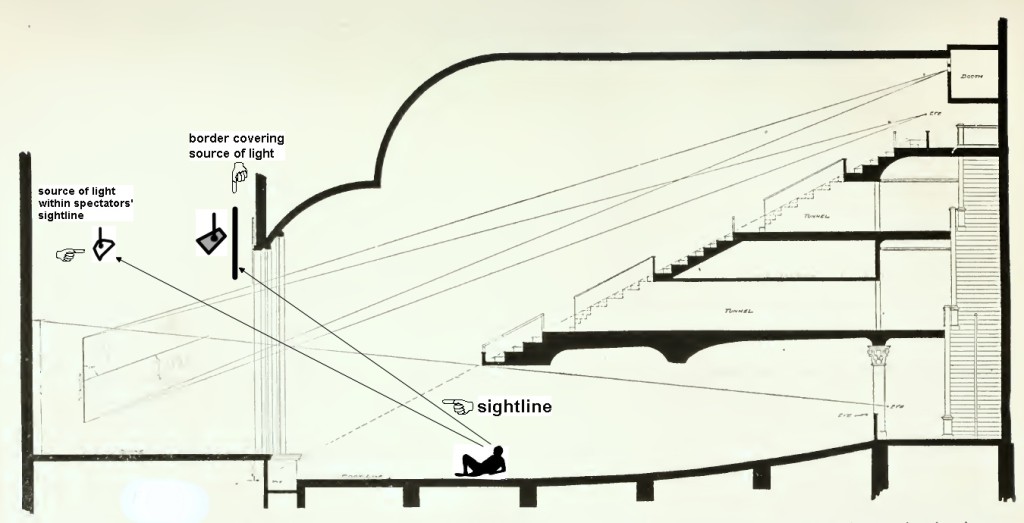
To cover that, borders are used – stripes of velvet hanging in the front of such a battery of back lights, screening a direct view onto the hanging lantern to a viewer. A specific issue is, namely in the drama, when a realistic environment with a single “natural” light source is simulated on the stage, (whether it’s interior, exterior, day or night) there is a custom that the scene should look like in the real life – lit by a natural source, thus throwing only one significant shadow: e.g. in the exterior caused by the sun (shadows depending on the different time day – differently shifted), similarly as in the interior, a filler with sunlight from the window or with light lamps at night indoors. It is a question of appropriate directing and adequate intensity of functional lights and distinctive light of a “natural” source. In the case of set design on the stage, directing of light is also an essential visual element. It is possible to seek to achieve confirmation of natural atmosphere, thus lighting decoration with an accent of a natural source.
There are some factors and techniques that need to be taken into account
There might be shiny objects at the stage that reflect light, it depends much on materials of which costume and set design are made. That is called stray light and it’s rather to be avoided. The considerable reduction of stray light can be achieved in a “black box” as the space is covered in black with black legs.
The dynamics can be given to light when its source of light itself would be moved in the space. With swaying of light sources, their light would be scattered onto the surface in irregular intervals. When shutters with carved openings are used, a moving shadow drawing can be reached.
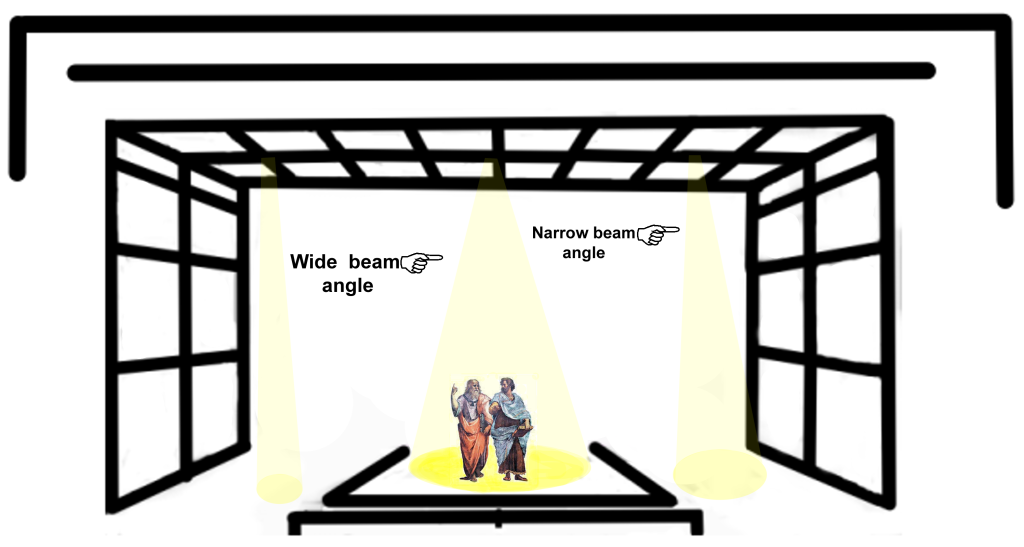
Growing of an object can be achieved when the object is lit by more sources of light with wider diameter of a light beam or the space could be unveiled gradually with more and more sources of light, which are in a given composition.
Using other light than white changes the colors of the items in the set design including dress.
The light from any other angle than the right above the actor casts the light onto larger area than is used by him.
The sharper the angle, the smaller the lit area, the less is dispersed the light outside the area that is to be lit.
Naturally, the part of light that doesn’t hit the object continues travelling further and casts light onto whatever is going to be the next thing in its way.
Some devices of the wash can be used as specials and in that case, any such reflector has to have its own circuit and dimmer.
Objects are modeled by their convenient lighting, where a perspective might be in play. And the light can used for intended deformation of the space.
The shadows that are cast by the main source of light are usually filled by the light from the source of lower intensity, inducing the perception in a complementary color.
Sharp angels create distinctively defined areas that offer a better possibility of being of higher intensity and thus attract the spectator’s attention better. Sharp angles cannot reach the actor’s eyes, which might be inconvenient for his expression. So a kind of compromise is needed between sharp and obtuse angles. The latter would lit eyes and the face below the nose and help to avail the facial expression on one side while having a tendency to flatten the scene. On the other, it casts light onto a part of the floor, which is usually not wanted or creates potentially disturbing shadows .
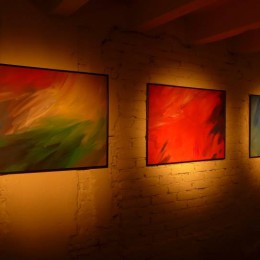
Direction of light plays a large role in lighting of museums as well.
Wash and special
Many lighting designs can be seen as a composition of washes and specials.
3.1.1 Wash
In theater, it is quite impossible to cast light onto a large area with only a single source of light. That might have its flaws as merging of light can be problematic, but has its advantages as well as different sections can have different intensity of light.
Wash is lighting of a larger area with blurred edges, it is usually composed of several lighting devices or lanterns that are labeled wash lights. As the several sources of light for lighting of a larger area are likely to be used simultaneously, their control of their intensity can be joint into a “group”, which is a name at the same time for several channels under a single controller.
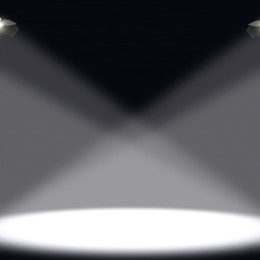
Wash is thus the term for light of homogenous quality on a quite large section of the stage, lighting of large surface in a scene, usually from multiple lanterns (eg. front wash, rear blue wash, etc.) and so it is reasonable to use it for color-toning of the scene.
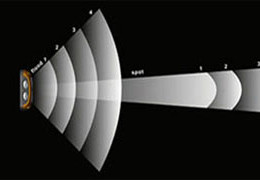
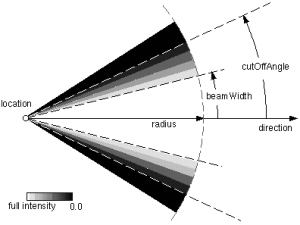
Its main quality is homogeneous distribution of the light in the beam all over the entire area. Usually, wash is used for “flooding” of the stage. The automatic wash often uses Fresnel lenses. The angles of emitted light oscillate from 5° up to 87°. For enlarging the span of angles, diffusive filters that defocus the light beam are inserted, which endorses the consistency of the beam. These types often contain carving blades as well. It is used as in theatres as in concerts, events, installations and TV studios. It is possible to color the background or backdrop fully, but can be used for front lighting as well. The entire scene can be shaped into one color atmosphere with only few lights.
3.1.2 Special
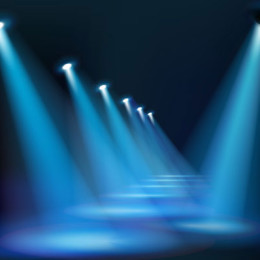
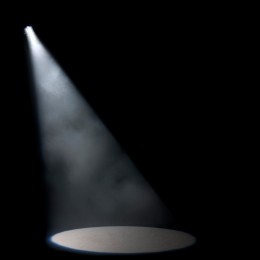
Special (Spot) is lighting of a small area with a sharply edged beam, usually created by a single lantern. Follow spot follows the actor’s movement in detail. (eg. the top spot, front spot, etc.)
3.2 Dance
In contemporary dance, the criterion of sufficient frontal illumination is not the primary one, so a lighting designer has more freedom to choose the direction of the light to express his “image”, however, that doesn’t mean that the viewer doesn’t need to be provided with good conditions for seeing the action, it may be even more demanding in a certain sense.
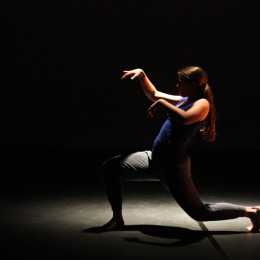
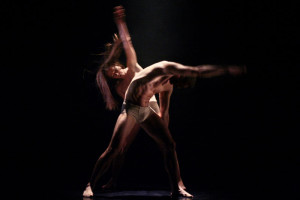
In the dance, side lighting is crucial, which means sidelights in the direction of about 90 ° from the perspective of the viewer, located at low heights. Their advantage is (in the case of good coverage of the stage by suffites) “invisibility”, in any case, the ability to portray plasticity of dancer’s figure. In full scenes, side lighting certainly cannot be absent. Here, however, it should be noted in relation to the angle of light that the height of the position of the spotlight is decisive for comfortable lighting: if the side lights are placed on a tripod on both sides (or on the ground), the complete figure will only be visible on the opposite side of the stage – right performer will be lit only on the left and vice versa. To achieve a compact lighting across the width of the stage, it is necessary to use spotlights at least in two (preferably three) heights (ground + tripod about 1.5 m or ideally ground + tripod about 1 m + tripod about 1.8 m). Another major component of a dance performance is back lighting, delineating the contours of figures and – particularly in dance – often determining the depth of the scene / space.
The angle of light plays a big role. The high position of back lights highlights contours of characters and gives a frame, dimension, to the stage space, they have a distinctively dramatic impact on the scene. The low-mounted back lights at a wider angle (the spotlights can be present in the visual field of a viewer) enhance the contrast between the dark silhouettes and its lit surroundings, without being too revealing or being too specific for the scene. By back lights, the choice of the spotlight has a big influence – e.g. the back spotlights PAR at low intensities creates narrow cones, which bestows a dynamic play of light and shadow on the scene, next to that, the Fresnel with great intensity lights the scene up, but the performer is still seen only in an outline. Because the direction of light changes point of view, this may be another mean of expression. An integral part of the dance performances is the so called specials that are designed for specific lighting of (performer’s) action in (to him) a defined area.
Direction of light and its angle, including the choice of a type of spot lights, is very much optional in this case and it principally concerns highlighting a detail in relation to the surrounding scene, focusing attention to an important event or change in the current flow of theatrical space-time. It may be a point beam, back, front, but the term special carries really wide possibilities. In regard to the fact that the theater of movement rarely uses scenography, even symbolically minimalist one, the light on the stage very often plays the role of a set design , i.e. it determines or implies or illustrates scenery, environment, sets the dimensions, creates the architecture of space. The light here then plays a dual role – the first that it illuminates a dance event including the atmosphere, the second that it determines the spatial context of this theater imagery, in other words, it forms the scenography. In particular, there is a need to consider both components separately in such a manner that the action would not be accompanied only by some kind of an environment and to the opposite, that the theatrical metaphor of certain space would not be too limited for the performer. This light- scenographic approach has its advantages, among others, that it can easily change a specific scene into general space that is not delimited more closely, but with its own atmosphere. It’s the task of a lighting designer, in collaboration with the director and / or choreograph to design the light.
That is appropriate to the action in such a way so the scene would not override the action.
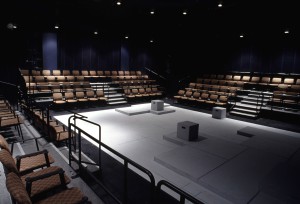
 Everything contained herein is true even in situations that are specific for some kind of a cause, whether it’s because of work in another type of theater space, because of using projections, a particular genre or technical limits. Arena, circus tent may be an example of non-standard space where it’s necessary to take into account the comfort of spectators who sit three in three, four sides in a circle. It is necessary to pay attention to the rule of sightlines, i.e. that it’s indispensable to provide adequate lighting for any viewer (front, side, back light), plus the lighting must not cause distracting, dazzlement. In an arena of four sides, it’s not very easy to fully cast light onto the full scene without compromises. If genre specifics are noted, let’s mention at aerobatic performances, where the performer needs adequate levels of light for his action and he also must not be dazzled (juggling, tightrope walking, etc.)
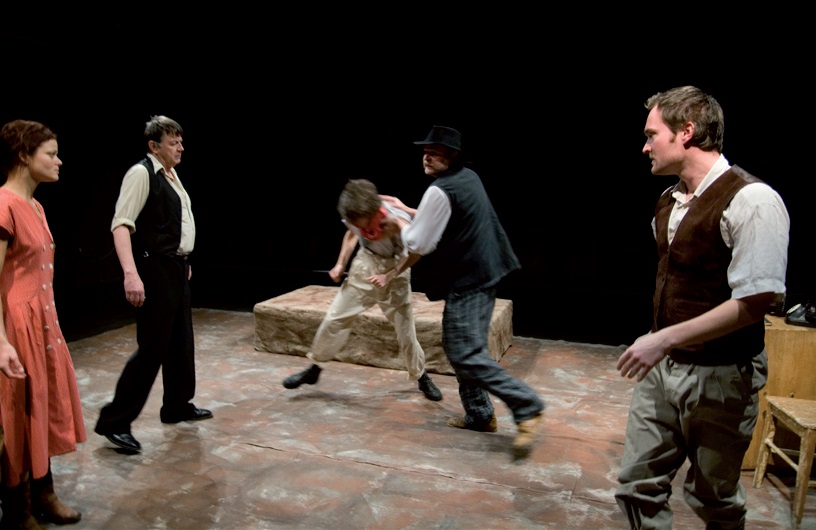
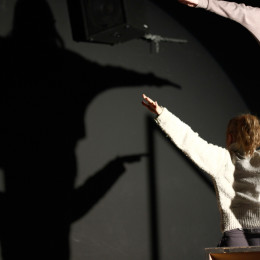
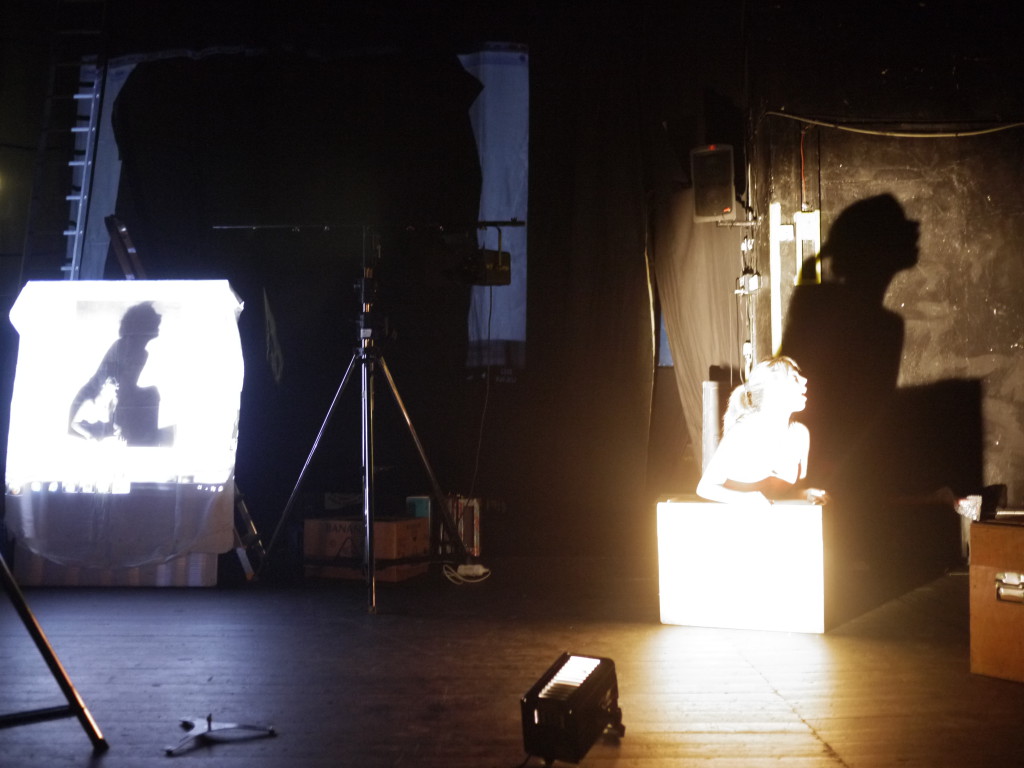
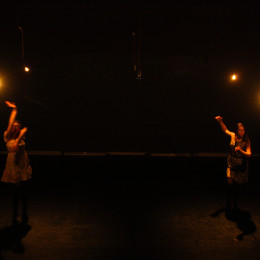
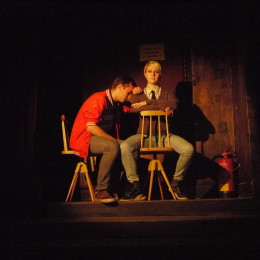
Although it’s not very much visible (the photographer deliberately suppressed the auditorium around), this performance is played in an arena between two auditoriums; actors have sufficient light from both sides (see shadows), plus the characters shadows are very soft (thanks to the moiré floor surface), so it is possible to estimate the quality of lighting in the scene in both desired directions; worth noting is the shadow in the face of a man in a hat – a difficult task on the classical stage, the more on the space in an arena theatre (Photo: Thomas Lohin; performance Businessman with rain, Theatre Na Prádle)
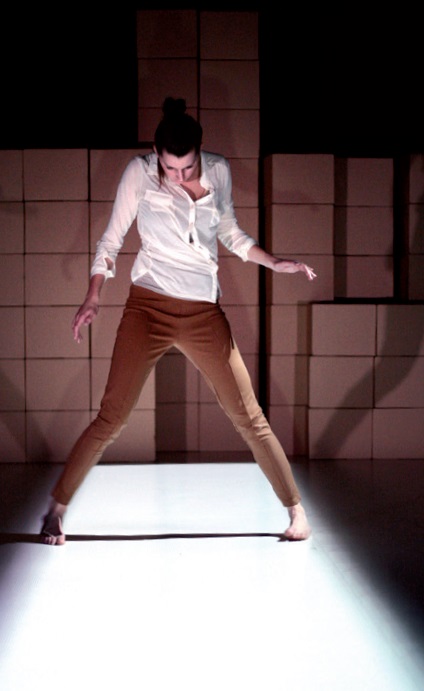
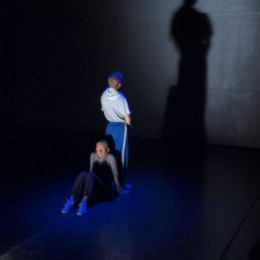
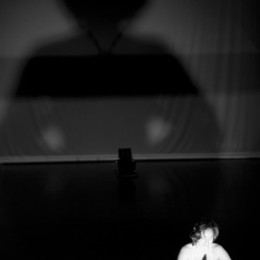
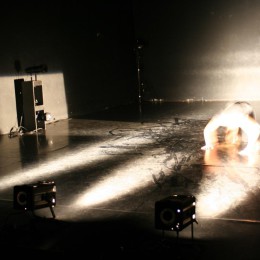
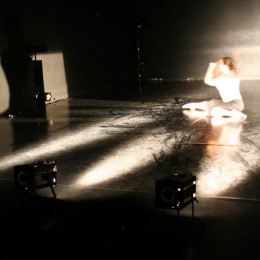
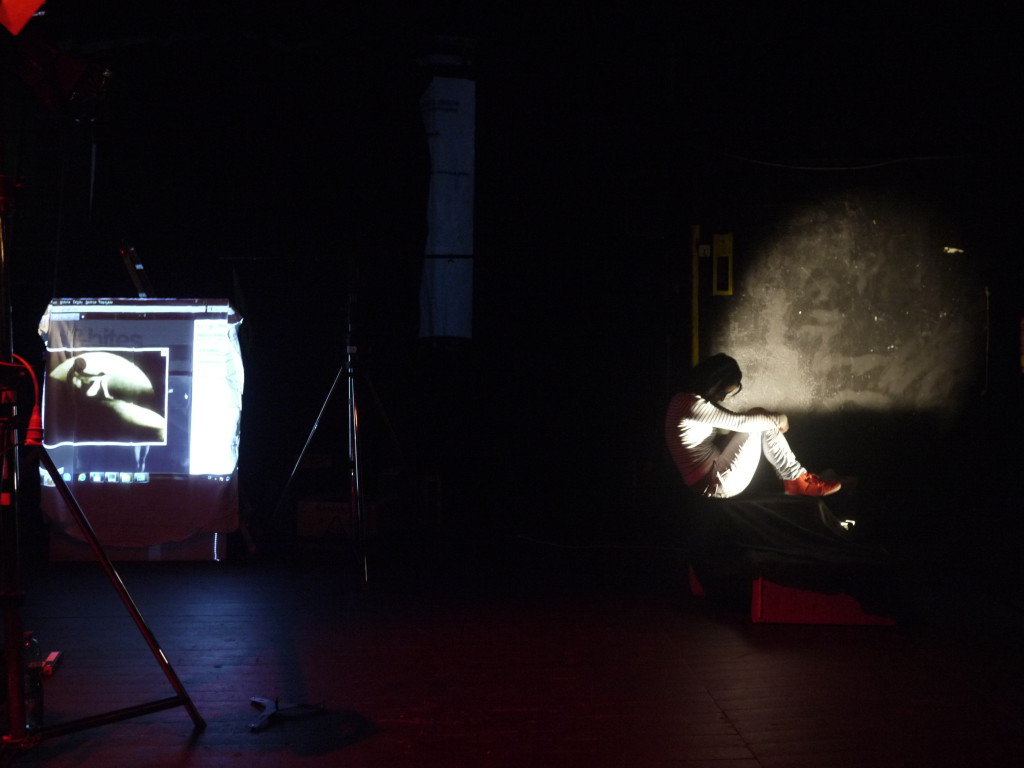
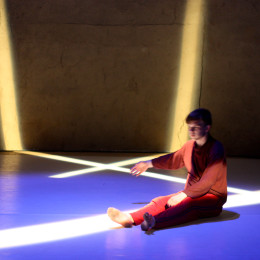
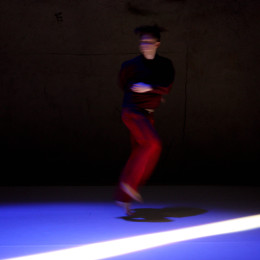
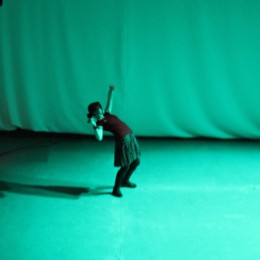
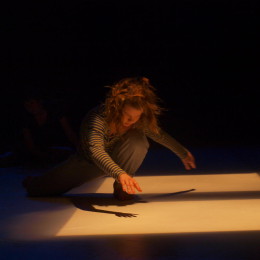
In the modern theater, where lots of multimedia is used, it is common to project images even onto the floor of the stage; it is advantageous to use bright surface for maximum brightness of the cue, but that, however, reflects any other light as well apart of projections disproportionately to the effect that is desired on the figure of the performer; in this case, there is probably only one way (without image degradation) of using sidelights; on the picture, the dancer works with an interactive projection (white stripe on the floor), the projector is placed near to the ceiling on the right as follows from the shades on the legs, so the light from the projector lights only the lower third of the body; for the viewer seeing, the scene is complemented by three front headlights on the ground (see shadows on the backdrop) with little intensity and color correction (Full CTB, tungsten cold to reduce the contrast between discharge lamp and bulb of the headlamp), so the figure would be enough lit.
4. Venues
In communication of a lighting designer with a technical team, there are some basic concepts that facilitate the assignment of tasks or explanation of the intention.
Theatre as a space has many architectural and technical specifics, moreover today, there are known several types of theater spaces and their variations (classical proscenium arch theater, studio theater, arena etc.). At present, also there are common productions in non-theatrical spaces (sitespecific) where the character or the atmosphere of the place are taken into a scenographic design. For the sake of this explanation, it is substantial the orientation in the space, which (except for the arena) depends on the point of the view. One usually encounters the view directed from the stage to the auditorium.
stage left / right or vice versa with the viewer’s view on the scene
house left / right – the opposite of stage left / rigt, upstage / downstage – to the backdrop – to the audience) – here this spectator’s viewing angle is kept.
There is a French model as well, where the term “jardin” (to the garden) is used (from the viewer’s perspective) for the left side and “cour” (the backyard) for the righ, which is based on the classical concept of theatrical space.
Lighting instruments must be hanged somewhere and so the dimension of the space determines the basics of the lighting design. Lanterns visible by the spectator are in fact a part of the set design.
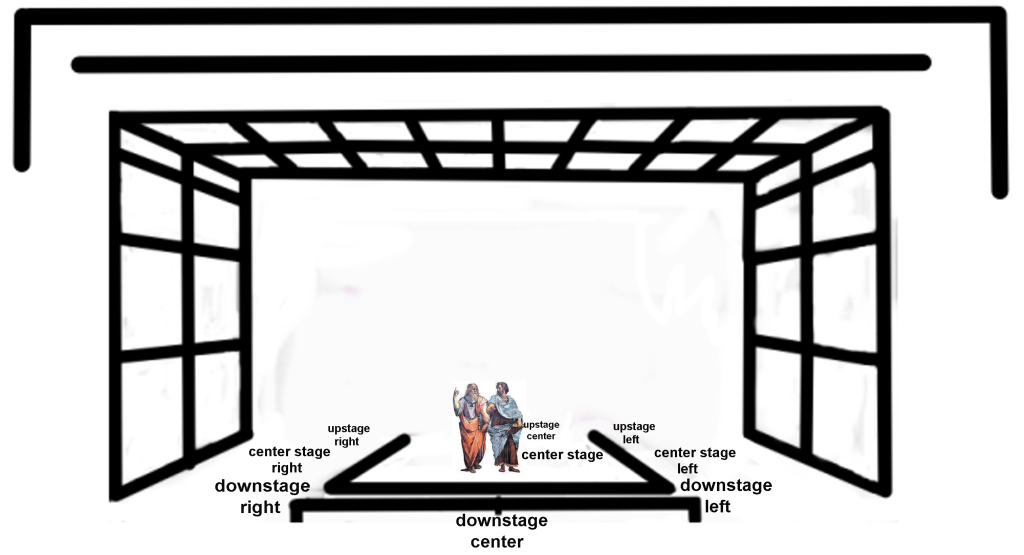
4.1 Proscenium Theater
Mounting positions
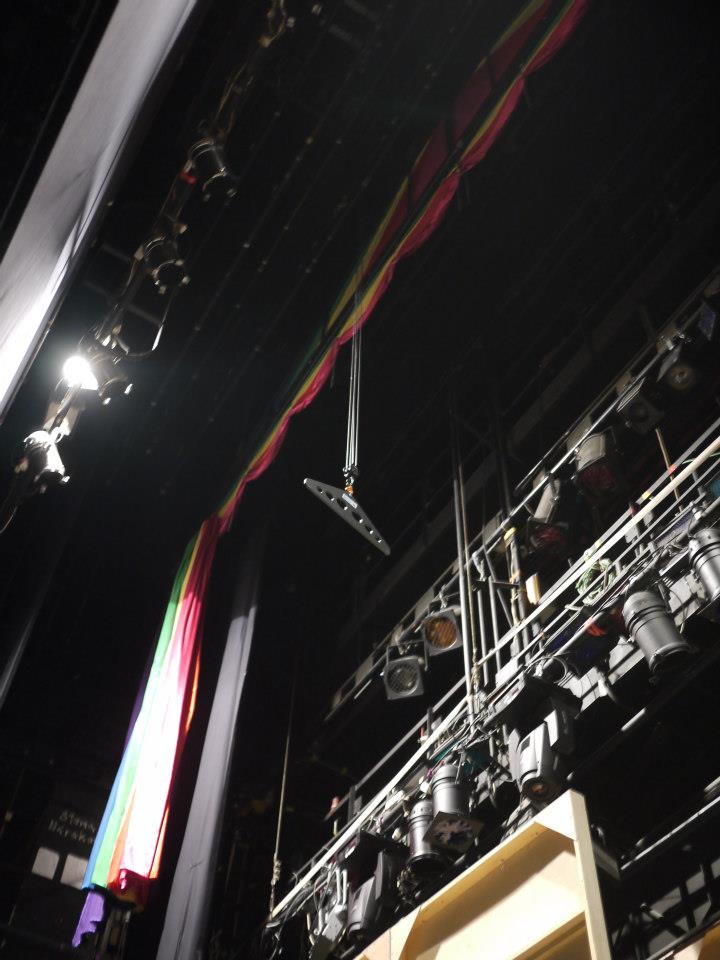
1. – FOH positions
Front of house (FOH) refers to stage lighting positions located within the auditorium (front of house catwalks, slots, box booms). They might be located in boxes, side galleries. Modern theaters are equipped by FOH lighting bridges.
– Ceiling Cove is a slot in the ceiling of the theatre for FOH lighting.
– Balcony Rail might be a mounting position on a pipe that runs along the balcony front in the auditorium for FOH position. A bar for mounting stage spotlights on the front of a balcony.
– FOH Pipe or Truss hung over the first couple of rows of the orchestra section of the auditorium.
– Follow Spot Booth is a raised area, usually enclosed in the back of the balcony, from which high intensity spotlights are operated to “follow” performers.
– Box booms are a vertical hanging position that are located in the side walls of the auditorium boxes, close to the stage. They produce low side angle to the horizon slightly to the front.
2. BOH
Back of house (BOH), backstage is the area of a theatre not open to the public.
– Electric Pipes:
– Booms vertical pipe used as a lighting position. Often installed as a temporary side-lighting position.
– Floor
– Set
– Ladders are vertical mounting positions on the sides of the stage in the wings
– Ground row is used to light the bottom of the drop.
– Towers are horizontal positions along the sides of the stage, they are numbered in the sequence from the proscenium arch.
– Bridge (lighting bridge, loading bridge) is a gallery or catwalk, sometimes suspended from overhead rigging to allow it to be raised, lowered, or repositioned.
– Wings are the sides of the stage offstage left and offstage right used for scenery, performer preparation and circulation, and the operation of theatre equipment
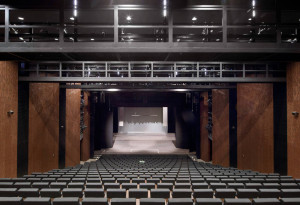
4.2 Blackbox
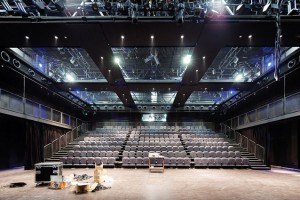
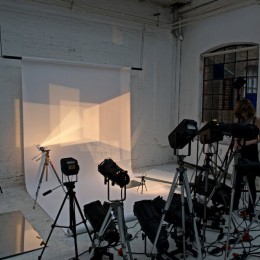
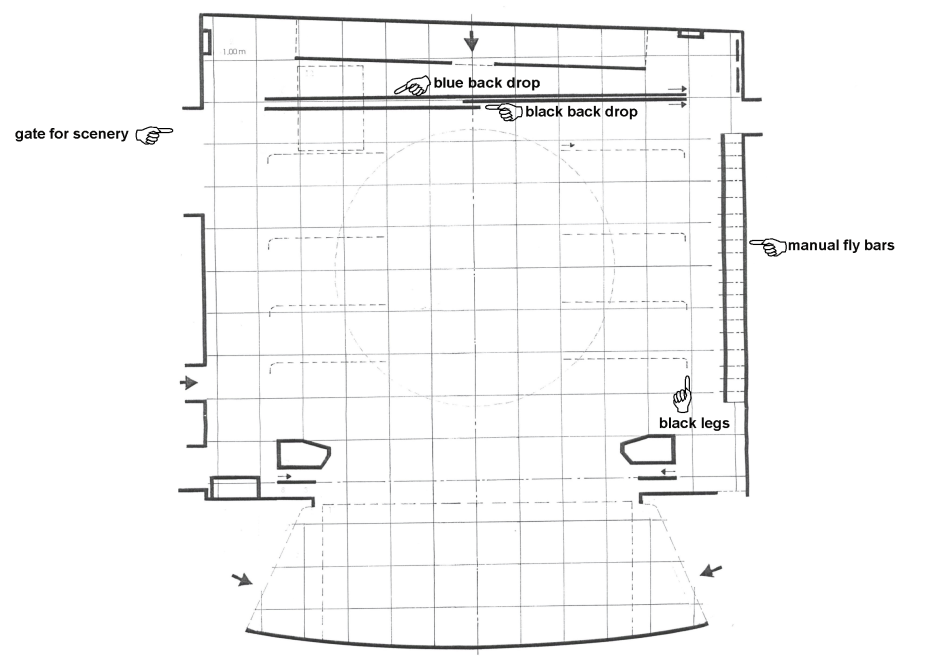
A special type is now popular studio stage (usually blackbox), where the ceiling grid is the primary suspension position, and where other positions than ceiling ones can be problematic (without hanged vertical bars). To a certain extent, it is possible (in any area) to replace the missing position with tripods with adequate height of extension, however, it is necessary to calculate with their location on the stage, in space ( they “steal” place).
Studio stage is a type of theater space that lacks a heighten stage while the rake of each row of seats in the auditorium is stepped by 40 cm in the way that all spectators have a view of the entire stage including the floor. Often, it is set up in a black box ( a completely neutral space in black color, or its opposite, the white box). It usually came into existence for instance by conversion of a factory building of a rectangular plan where the attempt for maximal use of width of the stage caused abolition of side and back stage, so it isn’t possible to use their space for bridges or other construction elements. Such a space offers (if it’s large enough) vast variability and there isn’t a problem to adapt it for any kind of theatre, although only with adequate technical equipment (however, one can never achieve the range of visual possibilities of a proscenium theater). Sometimes, the variability of the stage – auditorium layout is made available and so there is a need of always having comfort possibilities of hanging and for that reason the ceiling grid covers maximal extension, ideally hung on engines and is provided with a possibility of being complemented by vertical rods, which allow to carry instruments in other heights. It’s usually mounted from elements of truss system.
5. Beam
Natural light is something that we are accustomed to and we take it for granted that there is usually one strong source of light that casts light from above and scattered light from the sky and only minor fraction of the light is reflected from bright objects around. Its quality is composed of all the wavelengths of the spectrum and therefore is perceived as being white. That means that the natural angle of lighting is from above the line of sight, which is often reproduced in interiors as well. Similarly, concerning the quality, though qualities change, it is white light as well. We are used to the environment, where the predominant angle of light comes from above and is white. That shapes usual perception of faces, where the natural light creates shadows below nose and chin. Reversal of this situation happens, when a flashlight cast light onto the face from below, as any child would remember, and cast shadows create an unusual face, the scary one. And between these two examples, there lies a variety of possibilities.
Shadows that are cast by the sun have sharp edges, because the rays fall from large distance, similar to the light from a spot light lantern. When there are clouds, the light is dispersed, so the shadows are rather deformed into soft edges or they might be even erased.
A shadow is absence of all or some of light and is dependent on the quality of light. A shadow can be described in terms of size and shape. The more sources of light are distributed in the space, the more shadows come into existence.
Creating a cue, reproducing the natural light, manipulating with the spectators’ sight requires a certain level of understanding of natural appearance of things, in a certain sense, it requires not to accept simply the things as they are, but to be able to imagine them in the context of possibilities, of what they might be, if the basic axes were shifted. To reproduce daylight, there is a basic necessity of having the sources of light above the line of sight as it is in natural conditions and of producing some kind of white light. If the art intention demands destruction of spectators’ attention, there are many techniques that can be applied against the basic principles of natural ambiance. But what are its essentials?
5.1 Intensity
Intensity is understood as a rate of light in a given moment. It is one of the basic descriptive elements that is available in the work with light. The most important attribute of intensity is the possibility of highlighting the thing from the dark. In such a manner, the attention of a spectator can be directed. How much of light covers the area? How much of light is reflected from objects? How much of light penetrates the eye of a spectator? This is measured in Luxes that state intensity of light in a given moment. Another unit Lumen expresses the entire output of light from the source.
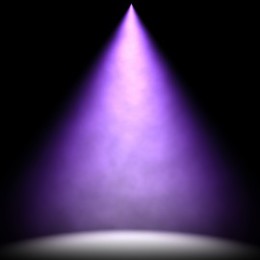
The light beam from the majority of sources expands with the larger distance from the source, while its intensity is gradually reduced and thus the level of intensity would be declining proportionally to the distance. The human eye can adapt to the range of intensity between 100 000 to 0,00005 Lux.
The sight adapts to the level of medium intensity of the objects in the focus, which is a bit different issue than the general level of the visual field.
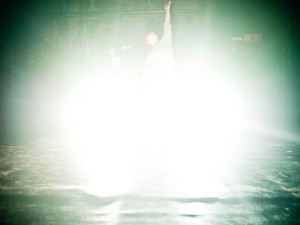
Dazzling is a large difference in intensity of lighting, where there are areas of distinctly different intensity that often happens when looking into the brights while driving or when a strong reflection from materials. It may happen in theater as well when a slit between filters and the body of source of light opens.
The sight can capture petty details in the middle of the visual field and quick movement at the periphery. If the sight is not disturbed by anything else, it focuses the attention to the point, which is the brightest one in the visual field. Practically, it is essential for determining the attention of the spectator to control the intensity of light sources.
The change in intensity of light at the stage can be understood as a change in time, place or centre of action. However, if there occur many of such changes without clear relation to the development of the plot in scene, such a relation would be ignored as proved to be a wrong clue in previous cases for the spectator’s mind. It is possible to uses changes in intensity to indicate the relation of one area towards the other and so it can create boundaries of areas and delimitate them in such a way. The essential decision that lies ahead in lighting design is how many separate areas and shapes are to be lit within a cue.
Colored light is created by filtering of unwanted wavelengths. All the filters considerably lower the intensity of light. Red filters absorb not only all but the red light of the visible spectrum, but infrared wavelengths as well.
The term focus is a tool for description of which area or areas are to be lit and from which direction.
It contains two features:
1. Angle of incidence
2. Throw
5.2 Angle of incidence
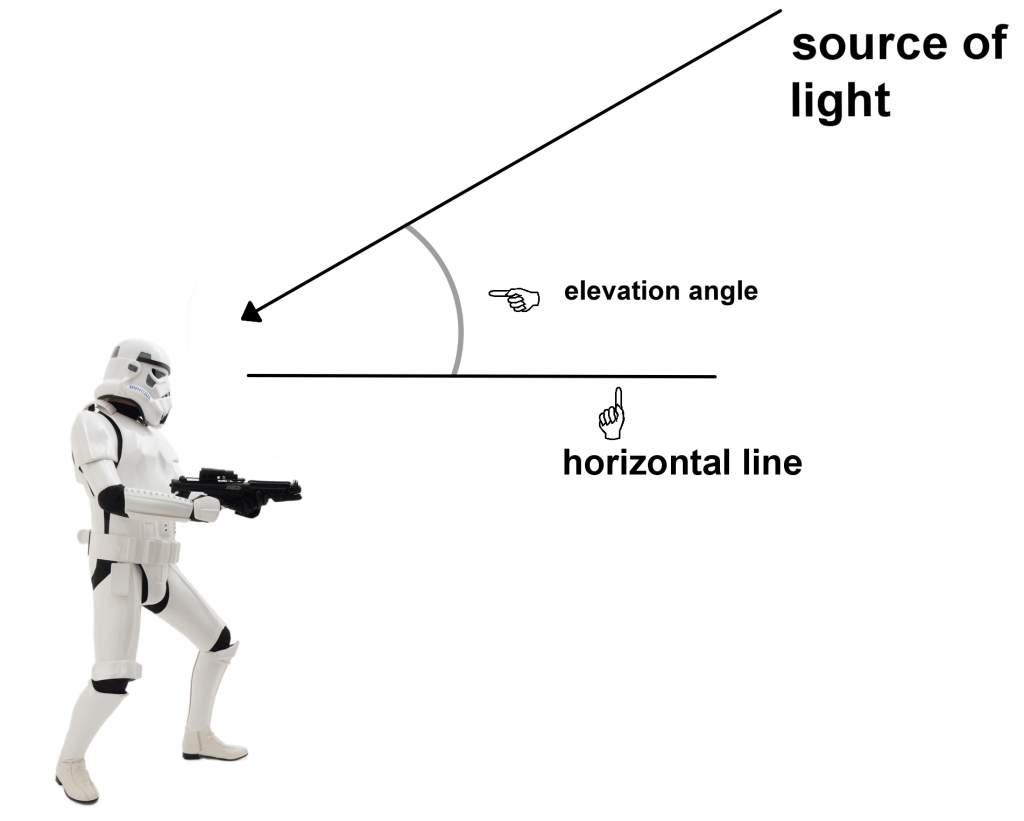
Angle of incidence influences the perception of objects within or outside the beam. It describes the relation between direction, where the light comes from and direction, where the spectators watch from.
The shadows form their shape according to the angle of incidence and the position of the viewer. Naturally, given the limitations of available places in the space, a key factor is the decision, where the sources of light should be hanged.
The basic position for the determination of the angle o incidence is the position of an actor, who faces frontally the audience. There are two main angles that are in play:
- Elevation angle is measured from the level of the stage
- Angle of actor that he needs for turning from the initial position towards the audience to the position of facing directly the lights.
5.3 Throw
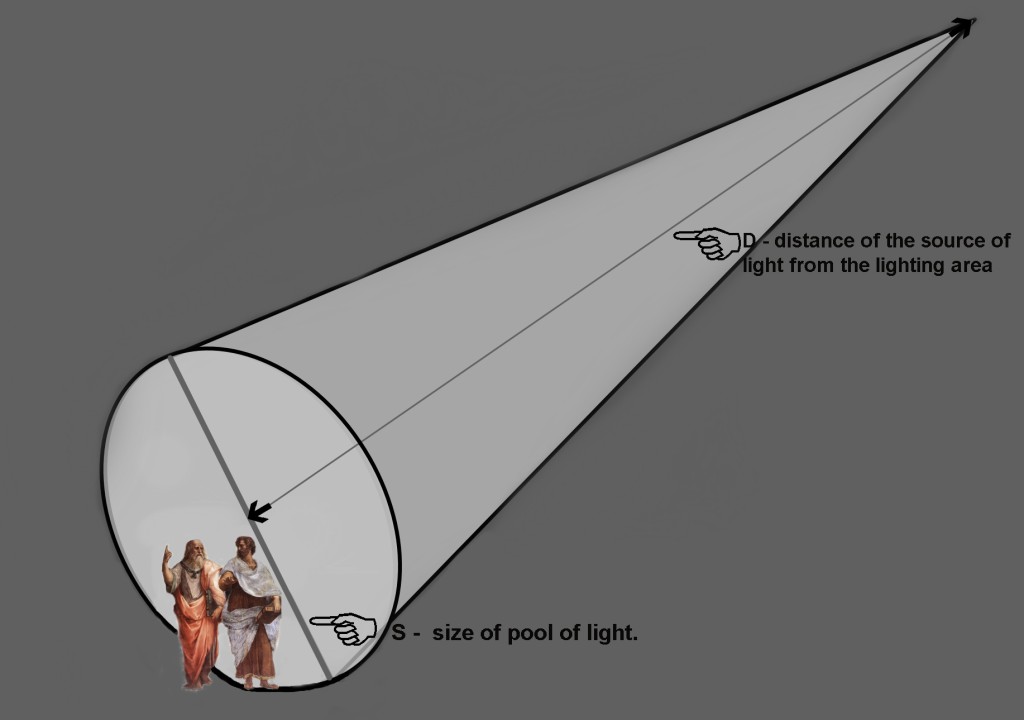
It concerns the source of light and the trail, in which it travels throughout the area / the distance between source of light and its destination.
Throw – how to calculate?
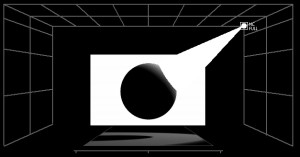
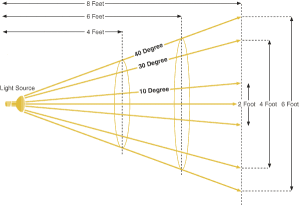
S = MF x D
“S” is the size of pool of light.
“D” is the distance of the fixture from the lighting area.
“MF” is the multiplication factor provided by the manufacturer.
6. Focusing
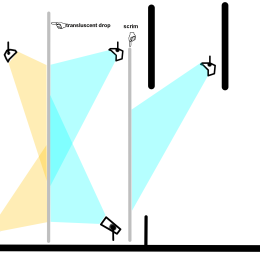
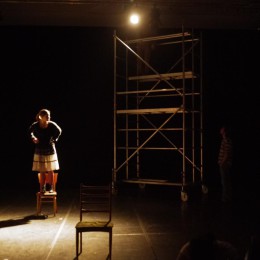
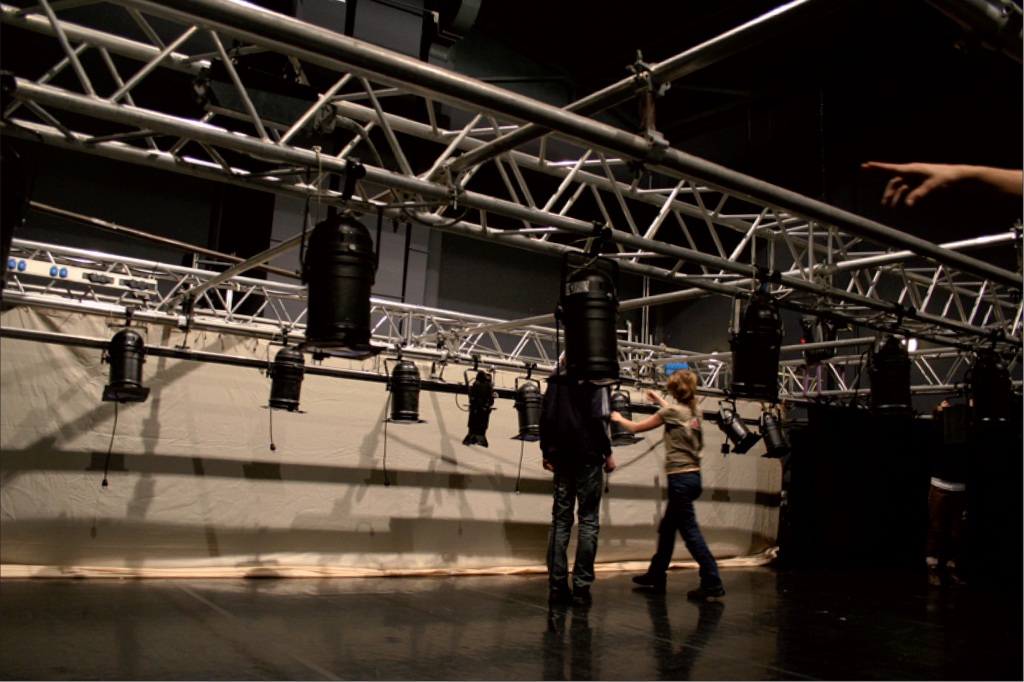
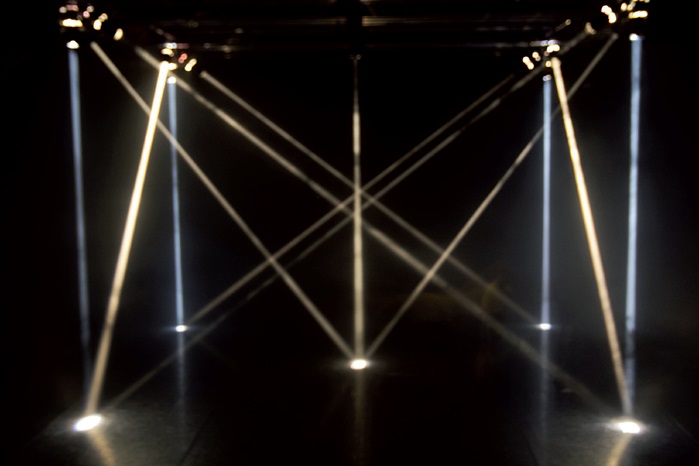
IDEAL SPACE HAS INFINITE NUMBER OF HANGING POINTS
In comparison with the common English meaning of “focus”, this word refers to the process (or state) of settings of instruments (the size of the lighting beam, sharpness, direction, filtering, fixation with Gobe or Iris). To “focus” means to prepare the lighting instruments into the final state as they will be used in the scene.
Such step means directing the light beam towards the desired location with desired intensity, to cast light onto what is wanted to be visible, while leaving what is to be hidden in the shadows. The work is different with intelligent lights that are highly adjustable and with the convenient ones that rely on manual settings.
Therefore focusing concern three main tasks:
- aiming the fixture into the position so the light is cast onto the desired area and things
- adjustment of the quality of light and size of the beam so desired area and things is within the spread of the light beam, but not too wide to cover too large surface or to cast light into spectators’ eyes.
- Shaping the beam
As the intensity of light decreases with increasing distance, it is a factor of consideration as well.
There is a variety of approaches to the procedure and sometimes it isn’t a reflected process, but just a custom, which includes relation at the workplace as happens only at very small venues that would concern only one person. A lighting designer who is in charge of providing instruction to the technicians is usually at the stage, where he can be at the positions where he can check, whether the entire figure is within the light beam, when he turns away from the source of light and examine his shadow. Simultaneously, he should have the whole picture in mind to reflect the context.
Communication might take place over a long distance and so clear orders are an advantage as it is rather probable that simultaneously there isn’t much time for correcting errors.
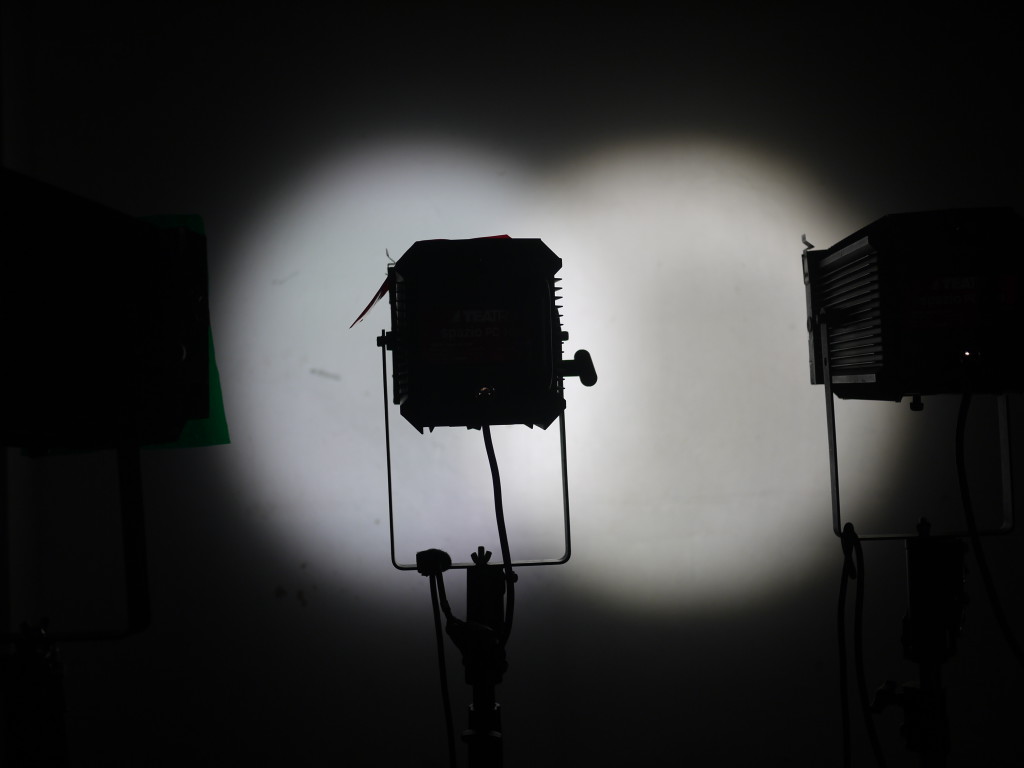
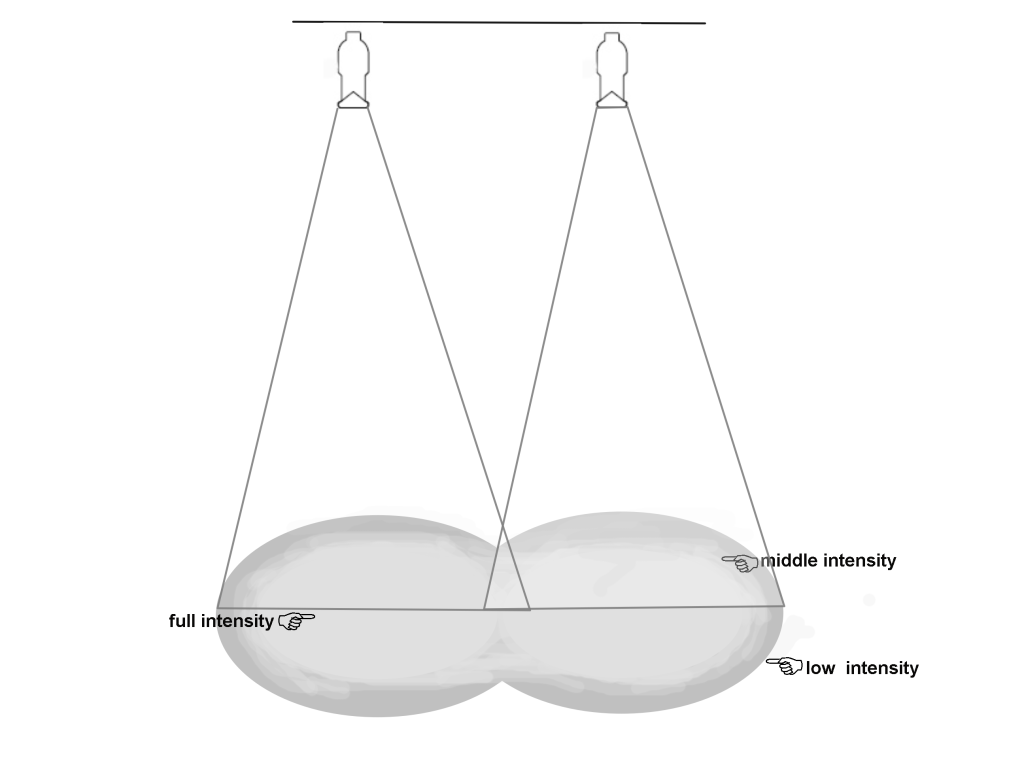
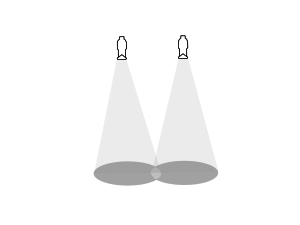
If the lighting is fixed to a certain angle, how to get an actor to be there? One possible answer is that first the beam has a certain range and secondly the stage is usually divided into areas, which helps to maintain consistency. Distinct areas need to overlap quite a bit as actors passing through a dark spot cause an unwanted effect of attracting too much attention. Overlapping is almost necessary as the sources usually shed the light with highest intensity at the middle line of the beam while the intensity is being reduced towards the edge. If the lights have the same value, there is no increase in value at their joint area, whereas if there is one with higher value, it overrides the weaker one. To create an even coverage of the area that wouldn’t disturb the uniformity, the intensities of two adjacent light has to be joint.
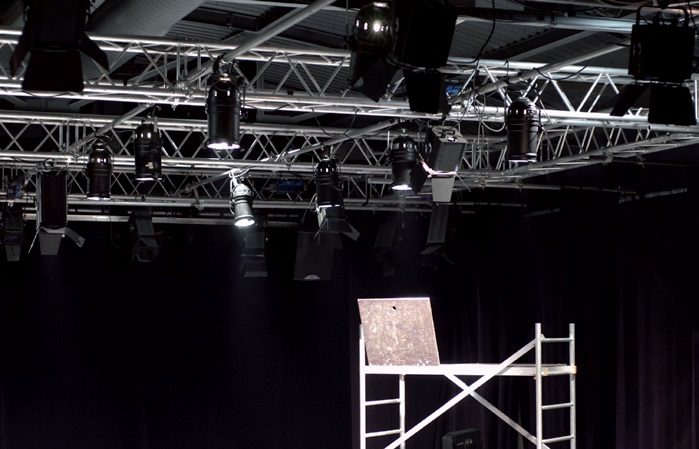
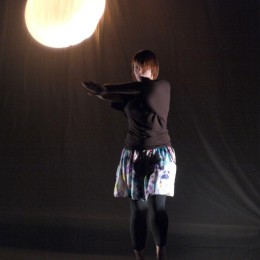
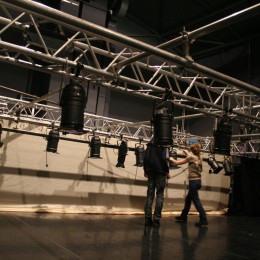
A truss structure is optimal for an almost unlimited number of hanging positions; using aluminum rods and couplers, a desired position of a luminaire can then be selected with a margin of of a few centimeters (Ponec Theater in Prague)positions; using aluminum rods and couplers, a desired position of a luminaire can then be selected with a margin of of a few centimeters (Ponec Theater in Prague)
The real space has large limitations, although that might be an advantage in theater, where the hanging positions are more or less given.
Variables of the space have a large impact on possibilities of lighting as hanging points might be created anywhere, if there are bars that can serve as hanging points or the hanging point can be fixed as well as the focus, color and patch. Each space has a particual setting of these parameters. The infrastructure opens some doors while closing the other.
In a large theater, a lighting designer is a member of a creative team, which as limits as guides his work. The lighting technicians are there indispensable. On one hand, there are settings that are very temporary, practically only for the duration of the performance as concerts or touring performance and on the other hand, there can be stable, long term infrastructure available. To the stability, the dimension of size that is to be considered as small drama theater can merge the job of a lighting designer with other, while there can be large auxiliary staff in bombastic events.
6.1 Set up
It is a term for specifically defined positioning of instruments or the process leading to it.
Setting up the light implies placing the sources of light to their respective positions. Fly bars can be often conveniently lowered to a position suitable for easy hanging. However, at some theaters, site specifics and other places, such action is not possible and this causes protraction of work. The position of a hanging point is relative to some reference point to match the light plan as good as possible.
Checkout
Given the large number of items to be connected, it is reasonable to check whether the circuits are connected to the correct headlamp, if there is the time, in the moment, when they are lowered. If turns out that all the light operate at the correct channel, there follows the next step that is focusing.
Focus session
Focusing has variables for different sources of light:
Profiles have two lenses that allow to change the angle of the cone of light and focus the edge of the beam. Shifting the relative position of lenses changes the focus. As the beams are to be directed at the actors, the lights need to be set in accordance with the plot and with the respective positions of lights within the design.
Focus chart, sheet provides information, to where the individual lights or groups are going to be directed. Similarly as there is a great variety of spaces, also the necessary information that would be conveyed by a chart would vary. Generally, it would contain dimmer channel, focus area and color.
Tasks
1. Reflection experiment
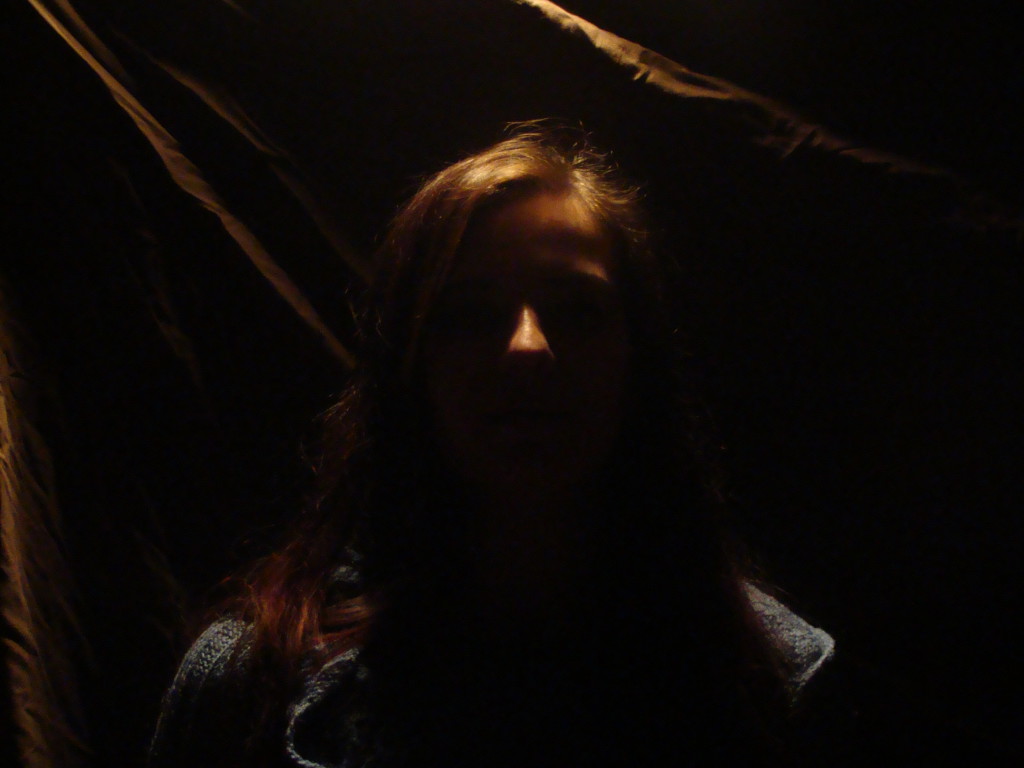
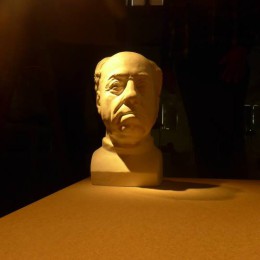
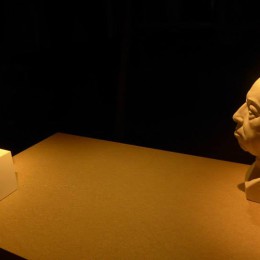
This homemade experiment is composed of one source of light from above.
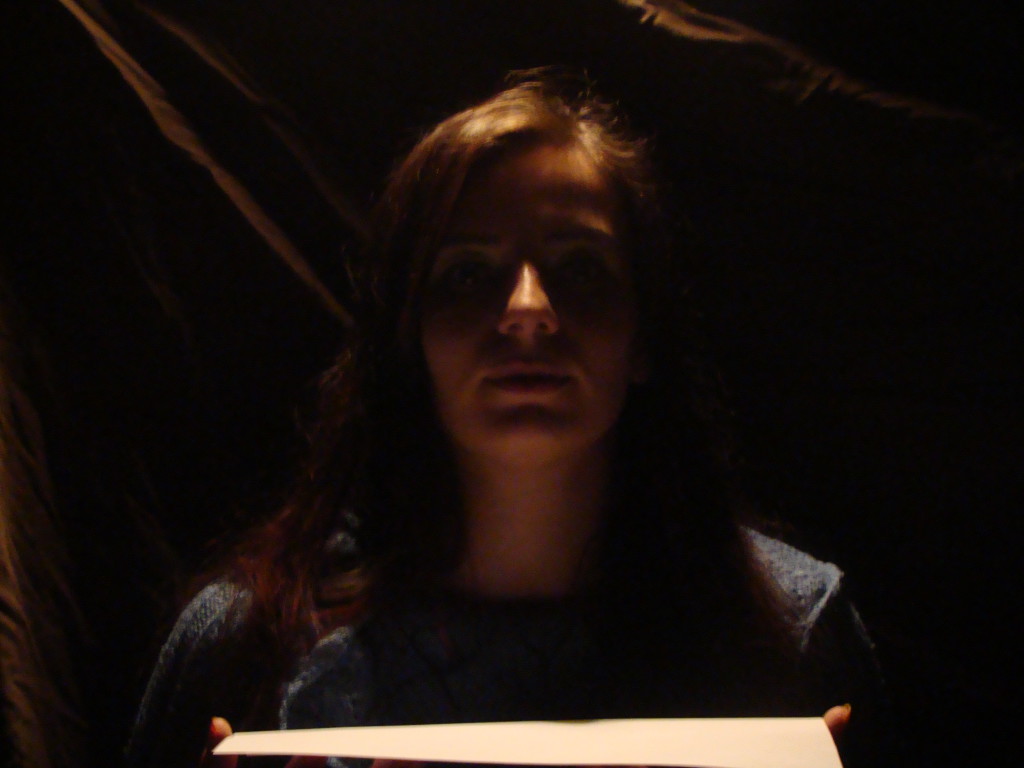
The very same setting, however, with a paper that reflects light from above onto the model’s face. A very different outcome is reached.
2. Thought experiment
Try to imagine how our world would look like, if there were two suns. How the shadows would look like in dependency on the angle of light. What if one of the sources emitted only blue light of the corresponding wavelength, while the other cast light of the entire spectrum?
3. Questions to consider:
What kind of intensity of light is likely to be used in a fast food restaurant, brothel, discotheque, hospital, prisons, schools?
Could you name three cases of how the angle of light can influence the lighting of the space an objects in it?
4. Observation
Go to a theater, observe the prevailing angles of light. Concentrate on the fact that the point of attention is where the area is brightest. Go to a local museum and detect at paintings, which area is highlighted by light. Notice, how the authors work with attraction of attention. Furthermore, study a bit of the history of painting for better understanding of how the angle of light works.
5. Front light
Grab a camera, turn the light off and take a photo of your room using flash. Turn the light on and take the same picture without flash. Repeat with people. Repeat with cats. See the difference.
6. Low light
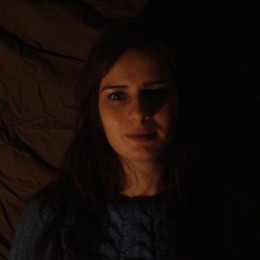
Get in front of a mirror and put a table lamp on the floor. Aim it at your own face to create some nice low light. Now try taking photos of different facial expression, especially the ugly ones. Then do the same faces under regular lighting (or daylight). See the difference. All work and no play makes Jack a dull boy.
7. Top light
Get a friend and go out after sunset and find a lonely street light. Make him/her walk under it and see how light in the face changes. See how a little difference in the relative angle really matters. Take photos. Many photos.
8. Back light
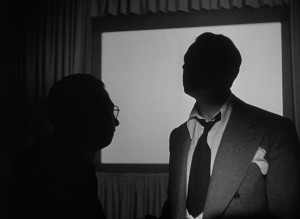
Watch any movie. If you can’t choose, watch Citizen Kane. Search for back light. See how necessary it is. See how different it is when back light is absent.
9. Side light
Shoot a short movie. Sit your model comfortably and get a torchlight. Circle the torchlight around your model while still aiming at the face. Keep the torch at eye level. Change the position of a camera and repeat. What angle is the best for “sculpting” facial features?
10. McCandless method
Get 2 lanterns on stands, get a model. Position lanterns as described above. Try changing colors. Try changing intensities. Have your model look around and take photos.
11. Three-point lighting
Watch your favourite movie scene. Now recreate it with 3-point lighting. Or find another movie scene.
12. Analysis
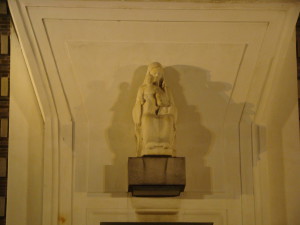
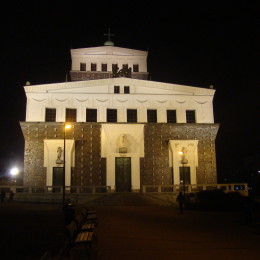
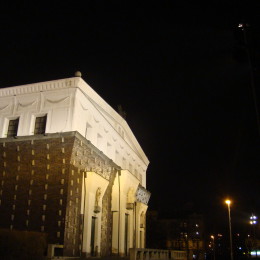
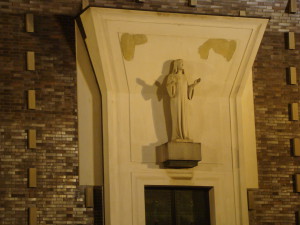
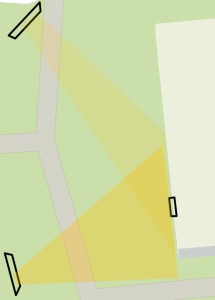
Church of the Most Sacred Heart of Our Lord in Prague:
Study your surroundings. Any natural environment is illuminated in a specific way, has various forms, dominant angles and colorfulness. The analysis of these conditions may help seeing the wanted image and in its creation with the means available. Do an analysis on your own: see an example of a basic situation.
13. Homework
Do an experiment with angles of light on your own: take pictures of somebody in different positions: Consider impact of the directions on the athmosphere of the situation.
14. Other field of studies
Consider the similarities with photographs:
Case studies
Examples of applications
The following text will be devoted to the presentation of these laws and their variation in terms of some specific situations.
1. Orbis Pictus
The case study is devoted to the concept of light dance performance called Orbis Pictus
The Orbis Pictus was the outcome of collaboration between two experienced choreographers and dancers, Michal Záhora and Lenka Bartůňková (troupe of the dance theater NANOHACH). The theme of this choreography blends certain metaphysics, certain timelessness with ingredients of mythological paintings. Initial scenic intention of choreographers was to create a “frame” that is a specific, real frame, as a scenic element, which could be easily and silently moved around the stage. The frame would serve as a window, into which would be concentrated the focus of some scenes. Thus there would be emerging at least two basic emotional levels: moving images in the frame and “free” choreography in the space around it. At the same time, a certain displacement angle of the viewer would be achieved by turning the frame, and therefore relativization of “what is given”, in comparison with “from what angle we look at things.” This is the way how the choreographers imagined that.
Light frame
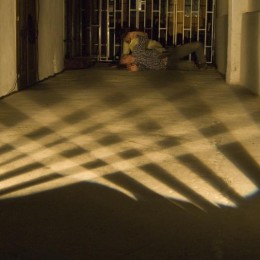
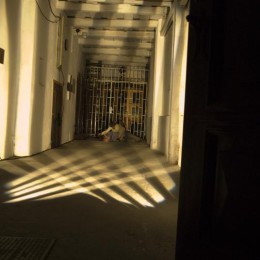
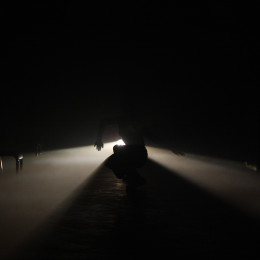
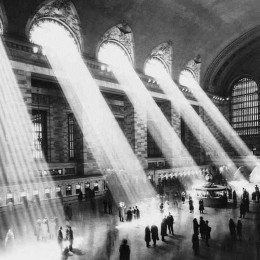
A light frame is here a designation for the light lines that are capable of dividing the space in a variable way and of delimitating it. Highlighting the path of rays of light (beam of light) is an effect that can be observed for instance somewhere in a barn, where light penetrates through small holes in the roof and is captured on the small particles of dust swirling in the air. This creates beams of light, light cones. It is actually a natural light illusion. Lines give an impression of being quite material, they exist, are in reach, but are intangible. What more can a lighting designer ask as a creator of illusion and unreality. The same principle, i.e. capturing light on invisible particles, which are dispersed in the air, can be applied with the use of a hazer (or a fog machine, a device that can create fog). A hazer is a device, through which one can create gentle mist in the space. To have this haze dispersed evenly throughout the space, it’s also possible to use a small fan, located adjacent to a hazer, but it is not always necessary. Once the space is slightly hazy, light rays are made more visible. This leads to the formation of lighting architecture of space.
In this case, to create thin light lines, profile lights were used. The smaller the angle of light, the better, because the focus forms a small, but significant light beam. This means that in the best case would be to choose profile with optics 24 ° and less. However, these are not so common in a normal theater, so for this performance, there the standard profiles with a range of light cone of 36 ° were used here. For the implementation, a plan was drawn , where a shape was depicted of composition of light lines. The profiles were hung vertically as wash and small rectangles of the size of a palm were created with the help of shutters. An iris diaphragm could be used as well – a device that is inserted into a lighting device and can reduce, close the light beam at will, but that makes the light output decreased. The lights were so arranged that each one was individually plugged in, so that each was separate and the shape of a “light house” could be arbitrarily decomposed and transformed. There could be for instance only two or four vertical light pillars or diagonal lines outlined by light. This simple principle allows variable transformation of the space. Specific shapes and their combination were chosen rather intuitively during rehearsals or were chosen at the request of choreographers.
Division of the space by each light pillars at the same time also influenced the choreography itself, especially the choice of the spatial distribution of motion. Here then, there was almost perfect balance of power, where the creation of lighting design inspired movement components of the performance and vice versa. Thus, this is how a lighting design is to be developed in an ideal case: collaboration between the choreographer and lighting designer when meaning of lights and their moods are gradually discovered and are created simultaneously with the choreography.
Light gate
Another scenic and significant element was a “light gate”. The idea of creating the light gate came from the need to anchor the scene with some fixed, but magic point and simultaneously to divide it into the “present” in the front and the “mysterious” in the back. A gate, or better “light wall”, was therefore placed in the center of the rear stage to gave an impression of dominance, as an entrance to the “other space”. The light wall consisted of a series of five profiled beams (zoom 25-50 °), which were hanged in a row next to each other and perpendicular to bottom. The focus on the stage floor created a light trail as a line 2.5 m long and approximately 15 cm wide. With the help of scattered smoke of a hazer, there was a semi transparent light wall that dancers could walk through or form images in the background behind it. Thus a gently misty, mysterious image was reached. At the front side, profile lights were covered with a short piece of black cloth, i.e. border. This is used when it is not appropriate that the viewer see a light source. If the source is not covered, it appears as the first at the pan of the light. That catches the viewer’s attention and disrupts the effect of materialization of the actual “light wall”.
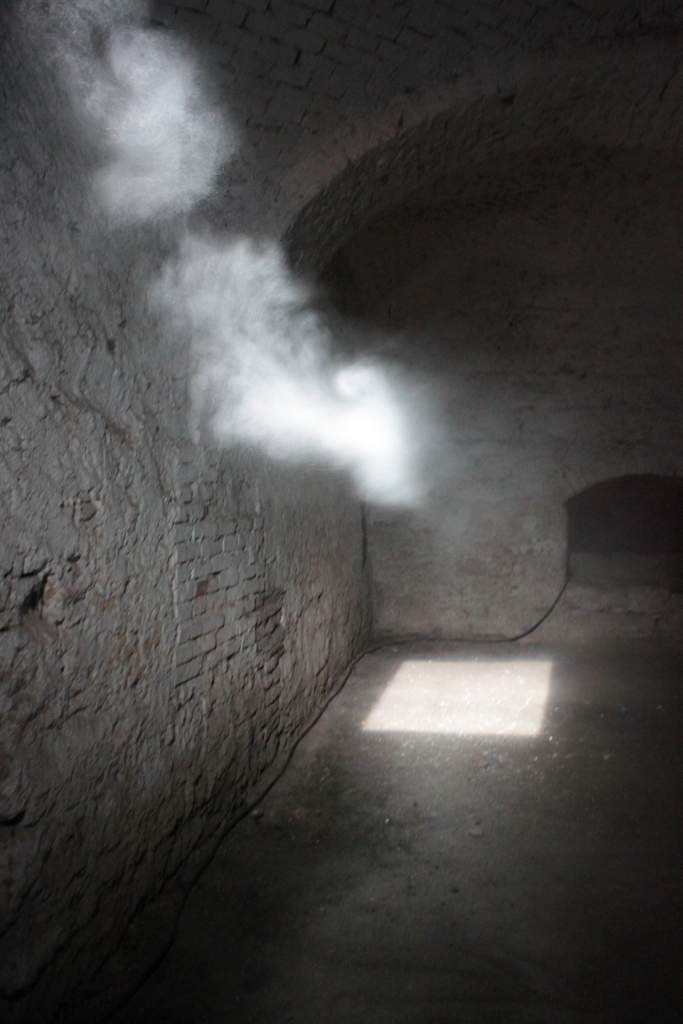
Highlighting the path of rays of light (beam of light) is an effect that can be observed e.g. somewhere in a barn, where light penetrates through small holes in the roof and is captured on the small particles of dust swirling in the air. This creates beams of light, light cones.
The idea to create light wall subsequently influenced the choreography and the story told in the performance. It became so one of those “frames”, in which the image and movement could be focused, it became the starting point and the doors, through which dancers could go into “infinity”. To keep the space mysterious and “endless” as much as possible, a path in the middle was created that led from the light wall through the middle of the stage towards the spectators. This path was created simply with few upright focused lights with a narrow light beam (PAR 64 CP61), which do not have such large scattering of light and which edges are soft, slightly blurred, organic. The dancers slowly moved along this middle path and they were also followed by a spot light by individual PAR’s so that once they passed through the light, it was gradually fading away while another light was being turned on. Thus isolation of the scene from the surrounding space of the stage was achieved. It is possible to do this “walking” lighting either manually or to program it sensitively. The pan of lights has to be soft and well-timed in any case so lights themselves don’t cause distraction from the actual action of dancers.
The viewer shouldn’t actually perceive the lights and their movement at all. The already mentioned use of a hazer therefore allowed the light to materialize. It depends of course also on the amount of used mist. The best is when the operator of the performance himself has the control over hazer switching and it turns on and off according to his needs. The fog stays in the air only for a certain amount of time before it dissipates and disappears, and it is therefore sometimes necessary to supplement it. To fulfill the requirement that the viewer shouldn’t see how the fog penetrates onto the stage, there can be used the moments when the scene is darker, and also the moments when the music and sound is louder, because the hazer gives hissing sound when turned on. It is therefore necessary to handle the hazer similarly as the lights. It is one of the components of “visual magic”. The columns of light can be used by dancers as light wash when they enter them. Since the columns are about the size of a palm, dancers can turn gently in them and so gradually illuminate parts of their bodies. Another possibility is not to enter into the light, but only approach it.
Body, particularly the skin, would be then lit by reflected light that has a fragile and mysterious impact, as for instance happens at the Rembrandt’s paintings. If the dancer put his hand into the light, he can direct the reflection of light himself by turning it. These are all elements that enrich the possibilities of lighting range and it is good that the dancers have the opportunity of experimenting in the lights. Because one component inspires the other, light inspires the choreography and vice versa.
Dematerialization of the space
In most cases, the scene is set in a classic proscenium stage, which is simply a black box without the front wall, which the viewer looks into. In this black box, a lighting designer should be able to conjure up different spaces and lighting of landscape so that the spectator could forget about the walls around.
In the case of choreography of Orbis Pictus, the conditions were actually almost ideal. Dancers moved half naked in the black space, so their pale skin reflected light well. It was possible to use less light intensity, and thus to reveal the space as little as possible. The dancers sometimes were moving around the whole space, and therefore it was not always possible to use spot lights all the time. It was possible to use, but it wasn’t the case here, a usual effect when the whole surface of the stage is covered with light from several rows of PAR’s CP62 (wide lens) that are slightly back focused. Here, in relation to the theme of the choreography, it was really inconvenient to unveil the space much and was better to “gently coat”, not illuminate the dancers with light directly. There are not so many ways of how to illuminate the whole scene. It is possible, in relation to the nature of the project, to use for instance 1 000W floods or opened PC and Fresnel lights as floods, respectively the mentioned rows of PAR’s or conveniently used side lights. Here a moderate compromise was applied, i.e. two rows by eight of PC 1000 W, located one against each other on ground tripods along the walls of the stage.
Placement of lights on the stage became another scenic element, because the lights were without barndoors, and the sources were thus visible, declared. A certain lighting delimitation of the area came into existence in such a way and the walls themselves were partly dematerialized. When lighting was just slight, the rows looked like an airport runway, but rather of esoteric nature. To suppress the orange tint of lights, which is caused by low intensity lighting (i.e. the redshift), standard “cooling” filters L201 were used in all PC’s. The focus of the PC was slightly up from the bottom, approximately at about the height of a dancer with hands above his head.
To follow the dancers with lights during movement (similarly as with the light path), there were plugged in PCs, four at each, two and two against each other. During the movement of the dancers on the stage, the floor actually seemed to “disappear” in this way of lighting. It was one of the creative intervention of chance, because it was not elaborated intention. Lights on the ground tripods, directed slightly upward and in the moderate intensity, they don’t illuminate the floor. This effect helped furthermore to dematerialization of the space. It was a challenge for the dancers, because it complicated their orientation in space. But the effect of dematerialization of the floor was entirely consistent with the concept of the performance.
The requirement of variable weather was put forward in the implementation of the opera Joel (cultural center Alandica, Marienhamn, 2009). One scene should have looked like a meadow, over which the clouds should have passed through. The seemingly trivial issue proved to be a problem for all 60 headlamps. The main system of lighting was the division of the stage into squares of 3 × 3 m, i.e. front left, center and right section, middle left, middle and right, rear left, center and right sections . It was simply lit by PC floodlights (or by defocused profile headlamps), at least two in each section from the front position, crosswise and with appropriate overlap if possible (so that the actors don’t walk through dark spots). Thanks to this, there emerged the possibility of simulating clouds by a slowly timed effect from the lighting console. Individual section were slowly fading down to a smaller intensity and meanwhile others were being switched on to the original full intensity. The simulation of clouds was achieved in a simple way by crossing by this as there were many opera singers and choir members moving all over the stage, on whom this effect was visible.
2. Kazimir and Carolina
Another interesting topic for the realization of lighting was the opening scene of the performance Kazimir and Carolina (DISK Theatre, Prague, 2009. The basic theme of the situation was based on the image of a Zeppelin airship flying over a sunny day and its shadow would be visible not only on actors, but on the floor as well. Here, insufficient dimension of the space proved to be a major issue. To create a realistic shadow of a Zeppelin, the source of light would have had to be really somewhere at the level of the sun. However, this cannot be achieved in the theater space.
The principle of an inverted shadow play with a small imitation of the airship wouldn’t have neither worked, because the only instrument, available in the space of the theater, wasn’t able to produce diffused light that would have been perceived as enough natural and, moreover, couldn’t cover the entire surface of the stage. A shade of an airship as a shape would have just also blended in with such lighting, respectively it would have just lowered the intensity of the source and the shadow still wouldn’t have been seen. This problem was finally solved in the way that the scene was gradually lit in the direction from the back towards the front in timed steps, one automatically following the other, from the complete lighting of the scene. Supported by actors’ action (saluting and waving toward the audience) and sound of a departing airship, credible “taking off” was achieved. And without the need to actually see the exact shape of the shade.
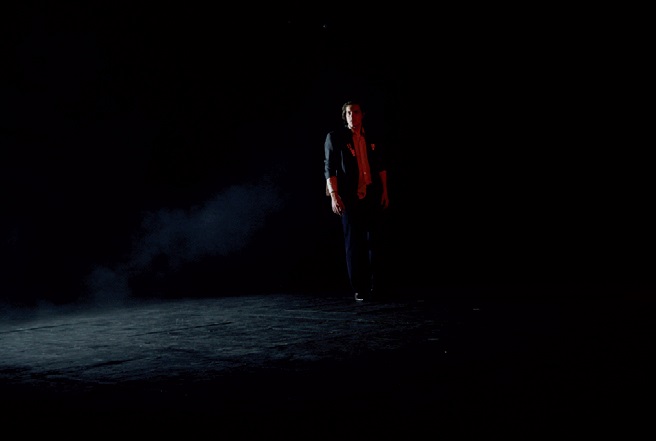
The performance Kazimír a Karolina, one of night scenes taking place in a parking lot; two sources cast the light onto the scene – cold light from the left side simulating front car headlights and red light from right simulating rear car lights, the rear section of the stage is cast with additional light for the reason of subsequent arrival of other actors. (photo: Klára Klepáčková)
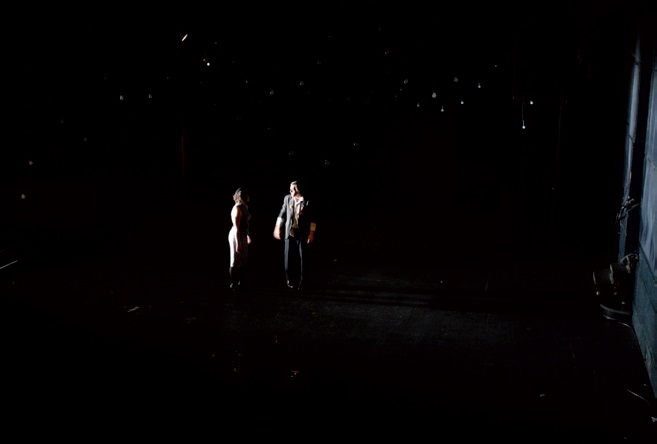
3. Swimming pool
Another case of change of “weather”, respectively of a plot that develops during a passing day, was the a juggling performance Plovárna (Prague, Ponec, 2014).The performance was inspired by the novel Capricious Summer by Vladislav Vančura and takes place in a simple scene of a swimming pool during a single day.
Since the beginning of the preparation of the staging, there was a clear assignment – the performance would be touring, i.e. it is necessary that it can be realized in different spaces and with different technical backgrounds. In addition to a passing day, another requirement was expressed: roughly in the middle of the performance, something like a dream has to take place in the scene (an afternoon siesta). It was thus necessary to distinguish the real world from this dream. A dream can be easily prepared with any other light, which doesn’t appear during the performance until then and even after. With a help of headlamps with cold and blue filters, this task can be accomplished without difficulty. And a passing day? The start of the performance begins with lights shining from the front and mostly from the right side. One proceeds across various bowling or acrobatic pieces, to the middle up to the end, where the left side produces more light. In such a way, it seems as if the sun passes over the heads of spectators and the whole day passes within one hour. The performance is full of other effects as well, but this main line can be implemented almost anywhere with a minimal number of instruments.
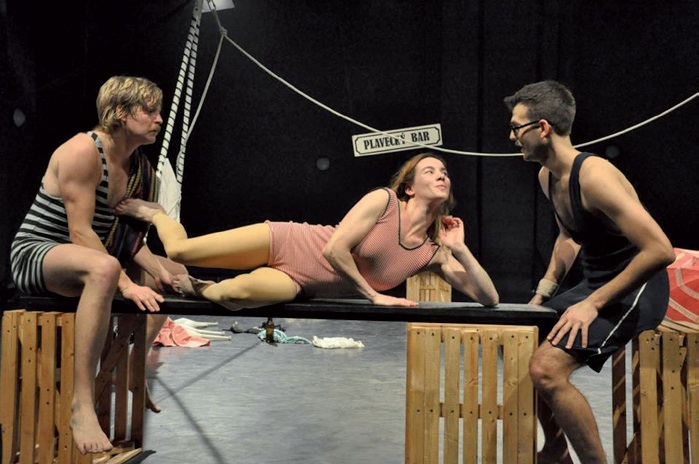
Performance The Swimming Pool, where an entire day goes by during an hour. A rear contra light can be noticed that shines for purpose of the realization of a lighting joke; the photo precedes the situation of the sun being covered by a cloud that is turning out the appropriate front light. (photo by Marianna Stránská
It is obvious that for creation of a stage lighting design is not mere mastering of lighting techniques without seeing a larger picture, finding ideas and a kind of wit. The impact lies in simplicity and too complicated and difficult creation of effects is actually impossible, despite all efforts to approach the real world in the theater. Theater should primarily entertain and any successful and spectacular spectacle enhances the impression greatly. Often at the cost of a simple, admitted trick.
Sources and literature
HILDEBRANDT, Darlene. 6 Portrait Lighting Patterns Every Photographer Should Know. Digital Photography School [online]. [Retrieved 2015-05-07]. Available from: http://digital-photography-school.com/6-portrait-lighting-patterns-every-photographer-should-know/
A Photo Essay on Light. 1972. ROSENTHAL, Jean a Lael WERTENBAKER. The Magic of Light [online]. [Retrieved 2015-05-07]. Available from: http://www3.northern.edu/wild/jressay.htm
WILLIAMS, Bill. 1999. Applied Design Methods. Stage Lighting Design [online]. [Retrieved 2015-05-07]. Available from: http://www.mts.net/~william5/sld/sld-300.htm
KRECH, Lucas. Dance Lighting – Introduction. On stage lighting [online]. [Retrieved 2015-05-07]. Available from: http://www.onstagelighting.co.uk/lighting-design/dance-lighting-introduction/
WILLIAMS, Bill. 1999. General Design Methods. Stage Lighting Design [online]. [Retrieved 2015-05-07]. Available from: http://www.mts.net/~william5/sld/sld-200.htm
WALERCZYK, Stan. Get the Lighting Right: Optimal Distribution. TED Magazine [online]. [Retrieved 2015-05-07]. Available from: http://www.tedmag.com/News/features/Get-the-Lighting-Right-Optimal-Distribution.aspx
FOX, Alexander. 2012. Great Lighting For Microbudget Video [online]. [Retrieved 2015-05-07]. Available from: http://crewofone.com/2012/great-lighting-for-microbudget-video/
SAYER, Rob. 2009. Light Reflection and the Angle Of Incidence. On Stage Lighting [online]. [Retrieved 2015-05-07]. Available from: http://www.onstagelighting.co.uk/lighting-design/light-reflection-angle-incidence/
NULPH, Robert G. 1999. Light source: Lighting backgrounds [online]. [Retrieved 2015-05-07]. Available from: http://www.videomaker.com/article/7271-light-source-lighting-backgrounds
Lighting. Impworks – Mark Caldwell’s website [online]. [Retrieved 2015-05-07]. Available from: http://www.impworks.co.uk/category/my-stuff/3d/lighting/
Lighting Angles. Theatre Crafts [online]. [Retrieved 2015-05-07]. Available from: http://www.theatrecrafts.com/page.php?id=813
FOX, Alexander. Microbudget Lighting Tutorial [online]. [Retrieved. 2015-05-07]. Available from: http://vimeo.com/34574808
WILD, Larry. 2001. Modeling with Light. Northern State University [online]. Aberdeen [Retrieved 2015-05-07]. Available from: http://www3.northern.edu/wild/LiteDes/ld02a.htm
Lighting Rigging Positions. In: Theatrecrafts.com [online]. [Retrieved 2015-05-10]. Available from: http://www.theatrecrafts.com/page.php?id=814
Focus, position, and hanging. 2001-. Wikipedia: the free encyclopedia [online]. San Francisco (CA): Wikimedia Foundation [cit. 2015-05-07]. Dostupné z: http://en.wikipedia.org/wiki/Stage_lighting#Focus.2C_position.2C_and_hanging
Video lessons:
HYMAN, Izzy. Three Point Lighting: Learn How to Use the Key, Fill, and Back Lights. Izzy Video [online]. [Retrieved 2015-05-07]. Available from: http://www.izzyvideo.com/three-point-lighting/
Software:
Projection Calculator Pro. Available from: http://www.projectorcentral.com/A+K-AstroBeam_X310-projection-calculator-pro.htm
Literature:
BANG, Molly. Picture this: perception. 1st ed. Boston: Little, Brown, 1991. xi, 141 p. ISBN 08-212-1855-7. Available also from: http://amzn.com/0821218557
CARTER, Paul. Backstage handbook: an illustrated almanac of technical information. 3rd ed., 10th printing. Louisville, Kentucky: Broadway Press, 2007. ISBN 978-091-1747-393. Available also from: http://amzn.com/0911747397
COLEMAN, Peter. Basics – A Beginner’s Guide to Stage Lighting by Peter Coleman. Entertainment Technology Press. 2003. Available also from: http://amzn.com/B00LLOI71S
DONOVAN, Harry. Entertainment rigging: a practical guide for riggers, designers, and managers. Seattle, Wash.: H.M. Donovan, 2002. 1 v. ISBN 978-0972338110. Available also from: http://amzn.com/097233811X
DUNHAM, Richard. Stage lighting: fundamentals and applications. Boston: Allyn, 2011. xvi, 416 p. ISBN 978-020-5461-004. Available also from: http://amzn.com/020546100X
GLERUM, Jay O. Stage rigging handbook. 3rd ed. Carbondale: Southern Illinois University Press, 2007. xxiv, 292 p. ISBN 08-093-2741-4. Available also from: http://amzn.com/0809327414
GLOMAN, Chuck B a Rob NAPOLI. Scenic design and lighting techniques: a basic guide for theatre. Boston: Focal Press, 2007. xiv, 398 p. ISBN 02-408-0806-1. Available also from: http://amzn.com/0240808061
HIGGS, Chris. An introduction to rigging in the entertainment industry. 2nd ed. Royston: Entertainment Technology Press, 2008. ISBN 978-190-4031-123. Available also from: http://amzn.com/1904031129
JACQUES, David Martin. Introduction to the Musical Art of Stage Lighting Design: Second Edition. CreateSpace Independent Publishing Platform, 2012. ISBN 978-1479177899. Available also from: http://amzn.com/147917789X
LANDAU, David. Lighting for cinematography: a practical guide to the art and craft of lighting for the moving image. vi, 275 pages. ISBN 978-162-8926-927. Available also from: http://amzn.com/1628926929
MCCANDLESS, Stanley. A method of lighting the stage. 4th ed. amended and rev., corr. reprint. New York: Theatre Arts Books, 1984. ISBN 978-087-8300-822. Available also from: http://amzn.com/0878300821
MORAN, Nick. Performance lighting design: how to light for the stage, concerts, exhibitions and live events. London: Bloomsbury Methuen Drama, 2007. ISBN 978-071-3677-577. Available also from: http://amzn.com/0713677570
MORRIS, Bert. Getting The Most From Your Followspot: an Operator’s Handbook. Theatrical Technicians, Inc., 1988. ISBN 978-0966561609. Available also from: http://amzn.com/0966561600
NEWBERRY, Bill. Handbook for riggers. 22nd anniversary 1989 rev. ed. Calgary, Alberta, Canada: Newberry Investments Co., 1989. ISBN 978-096-9015-413. Available also from: http://amzn.com/0969015410
REID, Francis. Discovering stage lighting. 2nd ed. Boston: Focal Press, 1998. 134 p. ISBN 02-405-1545-5. Available also from: http://amzn.com/0240515455
REID, Francis. The stage lighting handbook. 6th ed. New York: Routledge, 2001. ISBN 978-087-8301-478. Available also from: http://amzn.com/087830147X
WALTERS, Graham. Stage lighting: step-by-step : the complete guide on setting the stage with light to get dramatic results. Cincinnati, OH: Betterway Books, 2001. ISBN 978-155-8706-019. Available also from: http://amzn.com/1558706011
WATSON, Lee. Lighting design handbook. New York: McGraw-Hill, 1990. xxii, 458 p., [16] p. of plates. ISBN 00-706-8481-2. Available also from: http://amzn.com/0070684812
BRIGGS, Jody. 2003. Encyclopedia of stage lighting. Jefferson, N.C.: McFarland, v, 334 p. ISBN 07-864-1512-6. Dostupné také z: http://amzn.com/0786415126
Test

